1
Add your files
Drag PDFs, images, videos, or audio into Shrinklet, or use the file picker. You can add one file or a mixed batch.
This guide walks through the full Shrinklet workflow: adding files, choosing presets, tracking progress, reviewing savings, sharing results, and using advanced settings when you want more control.
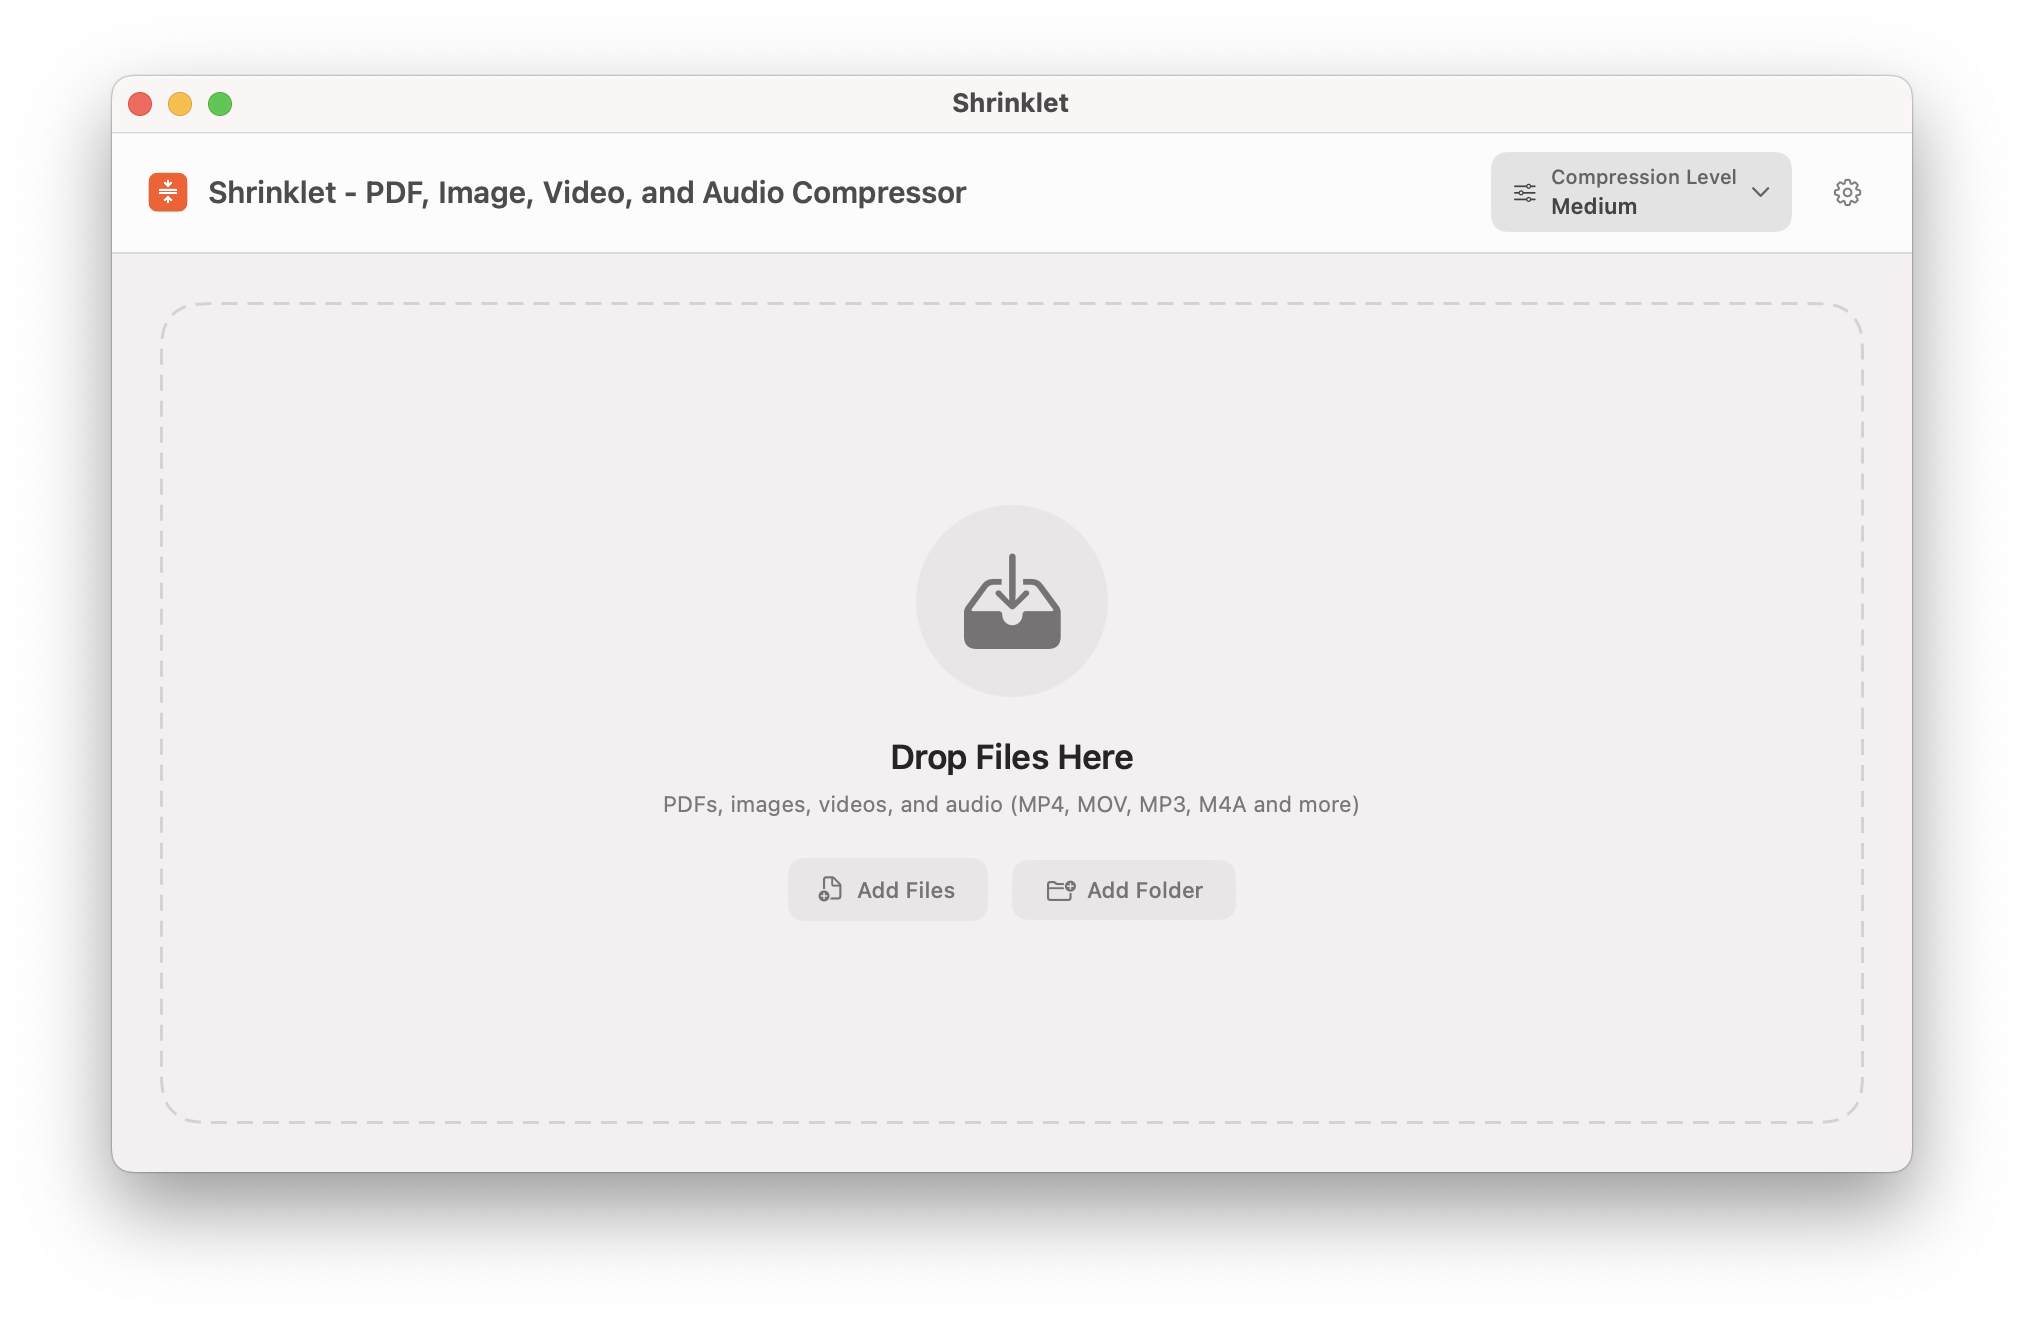
Start with the clean drop zone, then drag in PDFs, images, videos, or audio when you are ready.
Use this path when you just want to make files smaller without thinking through every setting.
Drag PDFs, images, videos, or audio into Shrinklet, or use the file picker. You can add one file or a mixed batch.
Choose Light, Medium, Strong, or Maximum based on whether you care more about quality or file size.
Click Compress, watch progress, then save or share the compressed output when Shrinklet finishes.
The screenshots show the real app flow from an empty screen to a completed batch.
The home screen keeps the next action obvious. Drop files into the center area to begin.
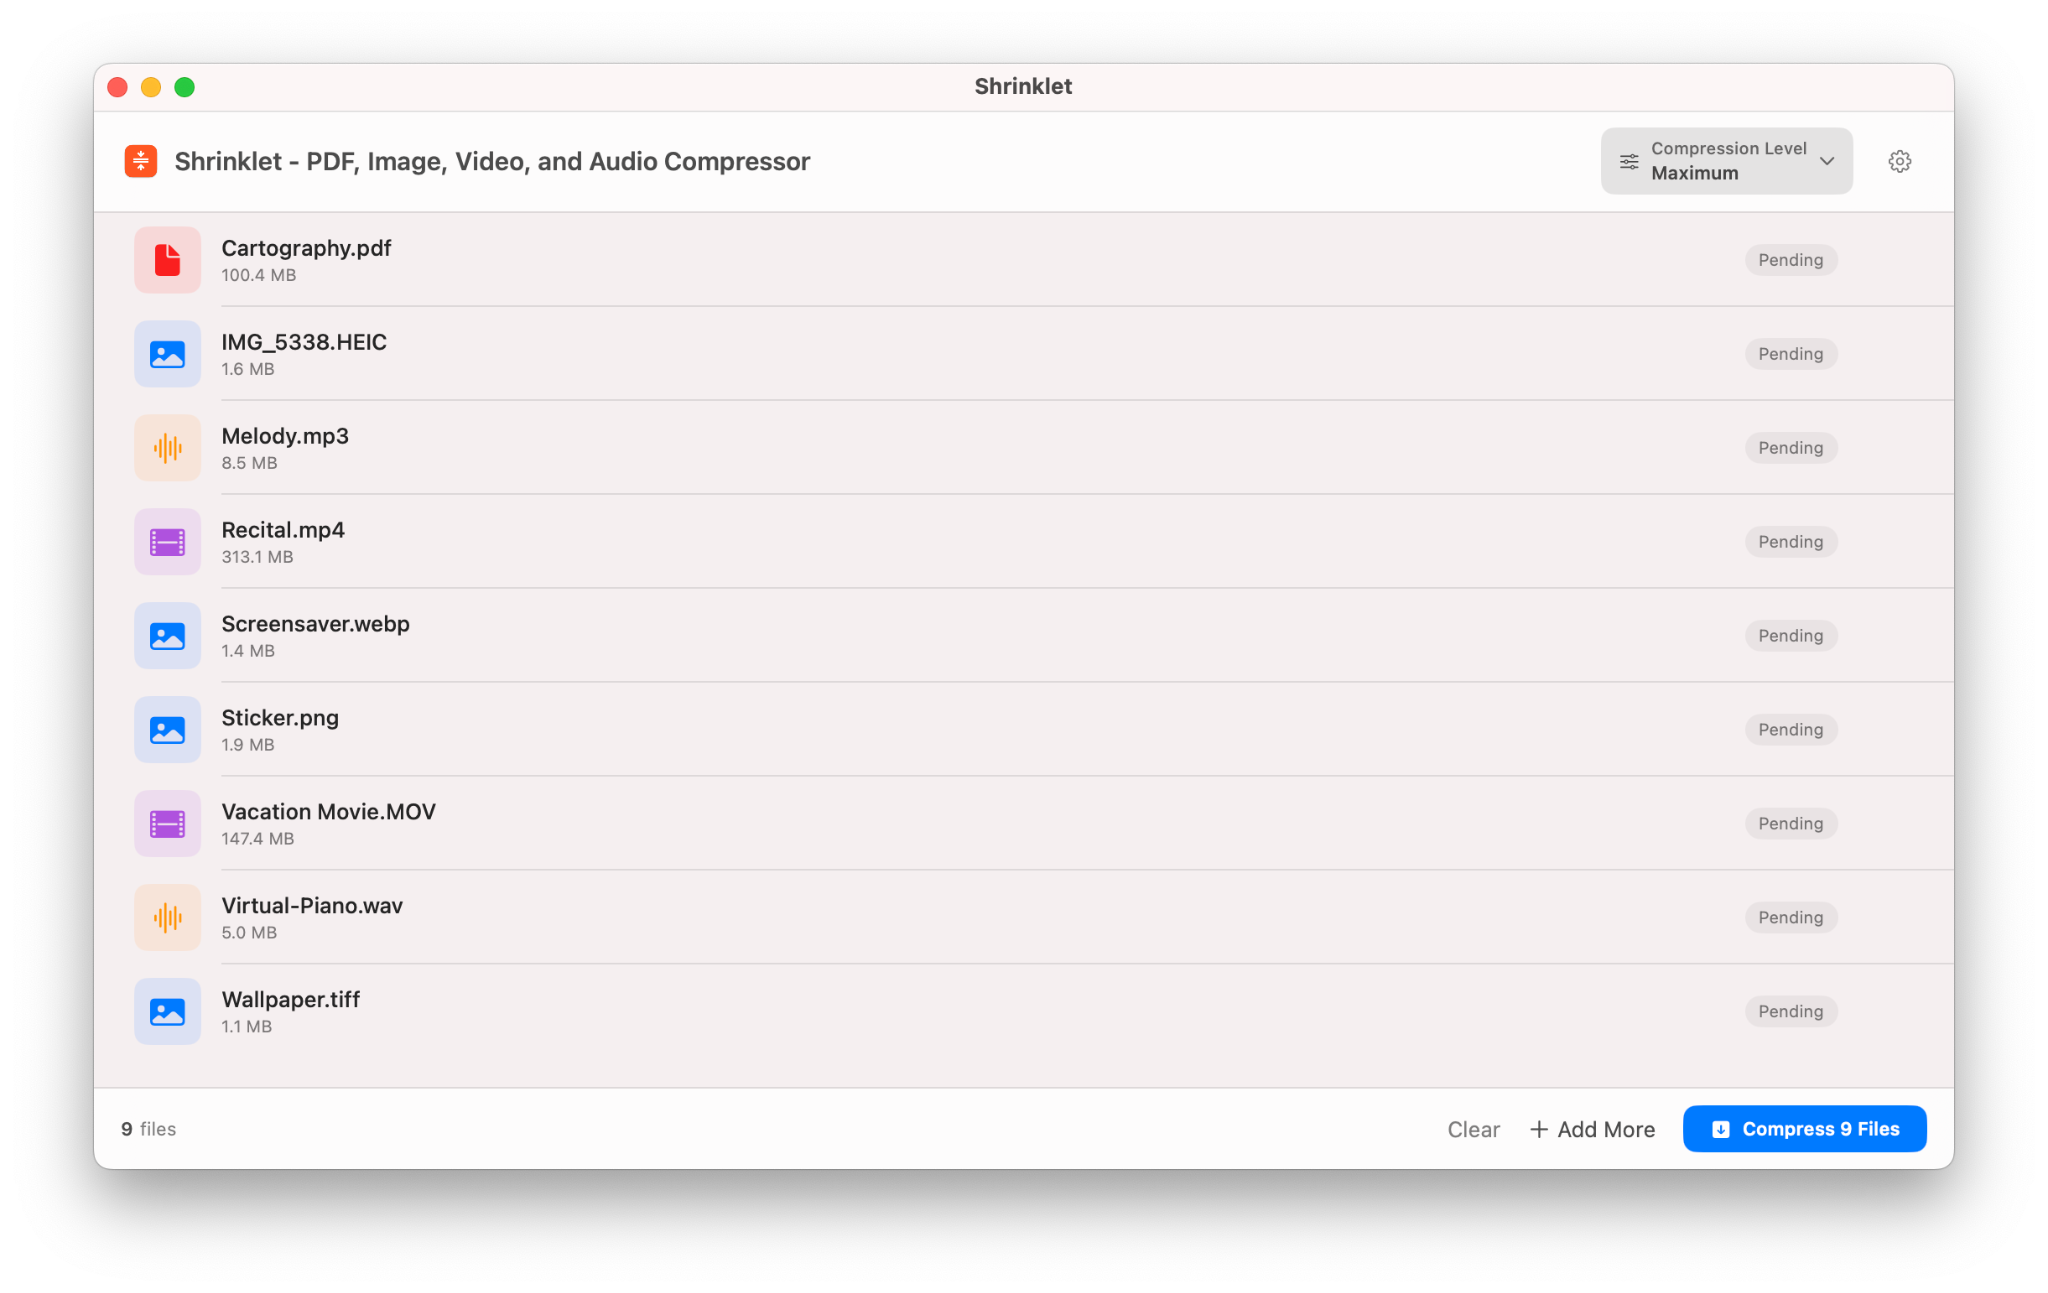
For a single file, Shrinklet shows the pending item, its current size, and the selected compression option so you know what will happen before you run it.
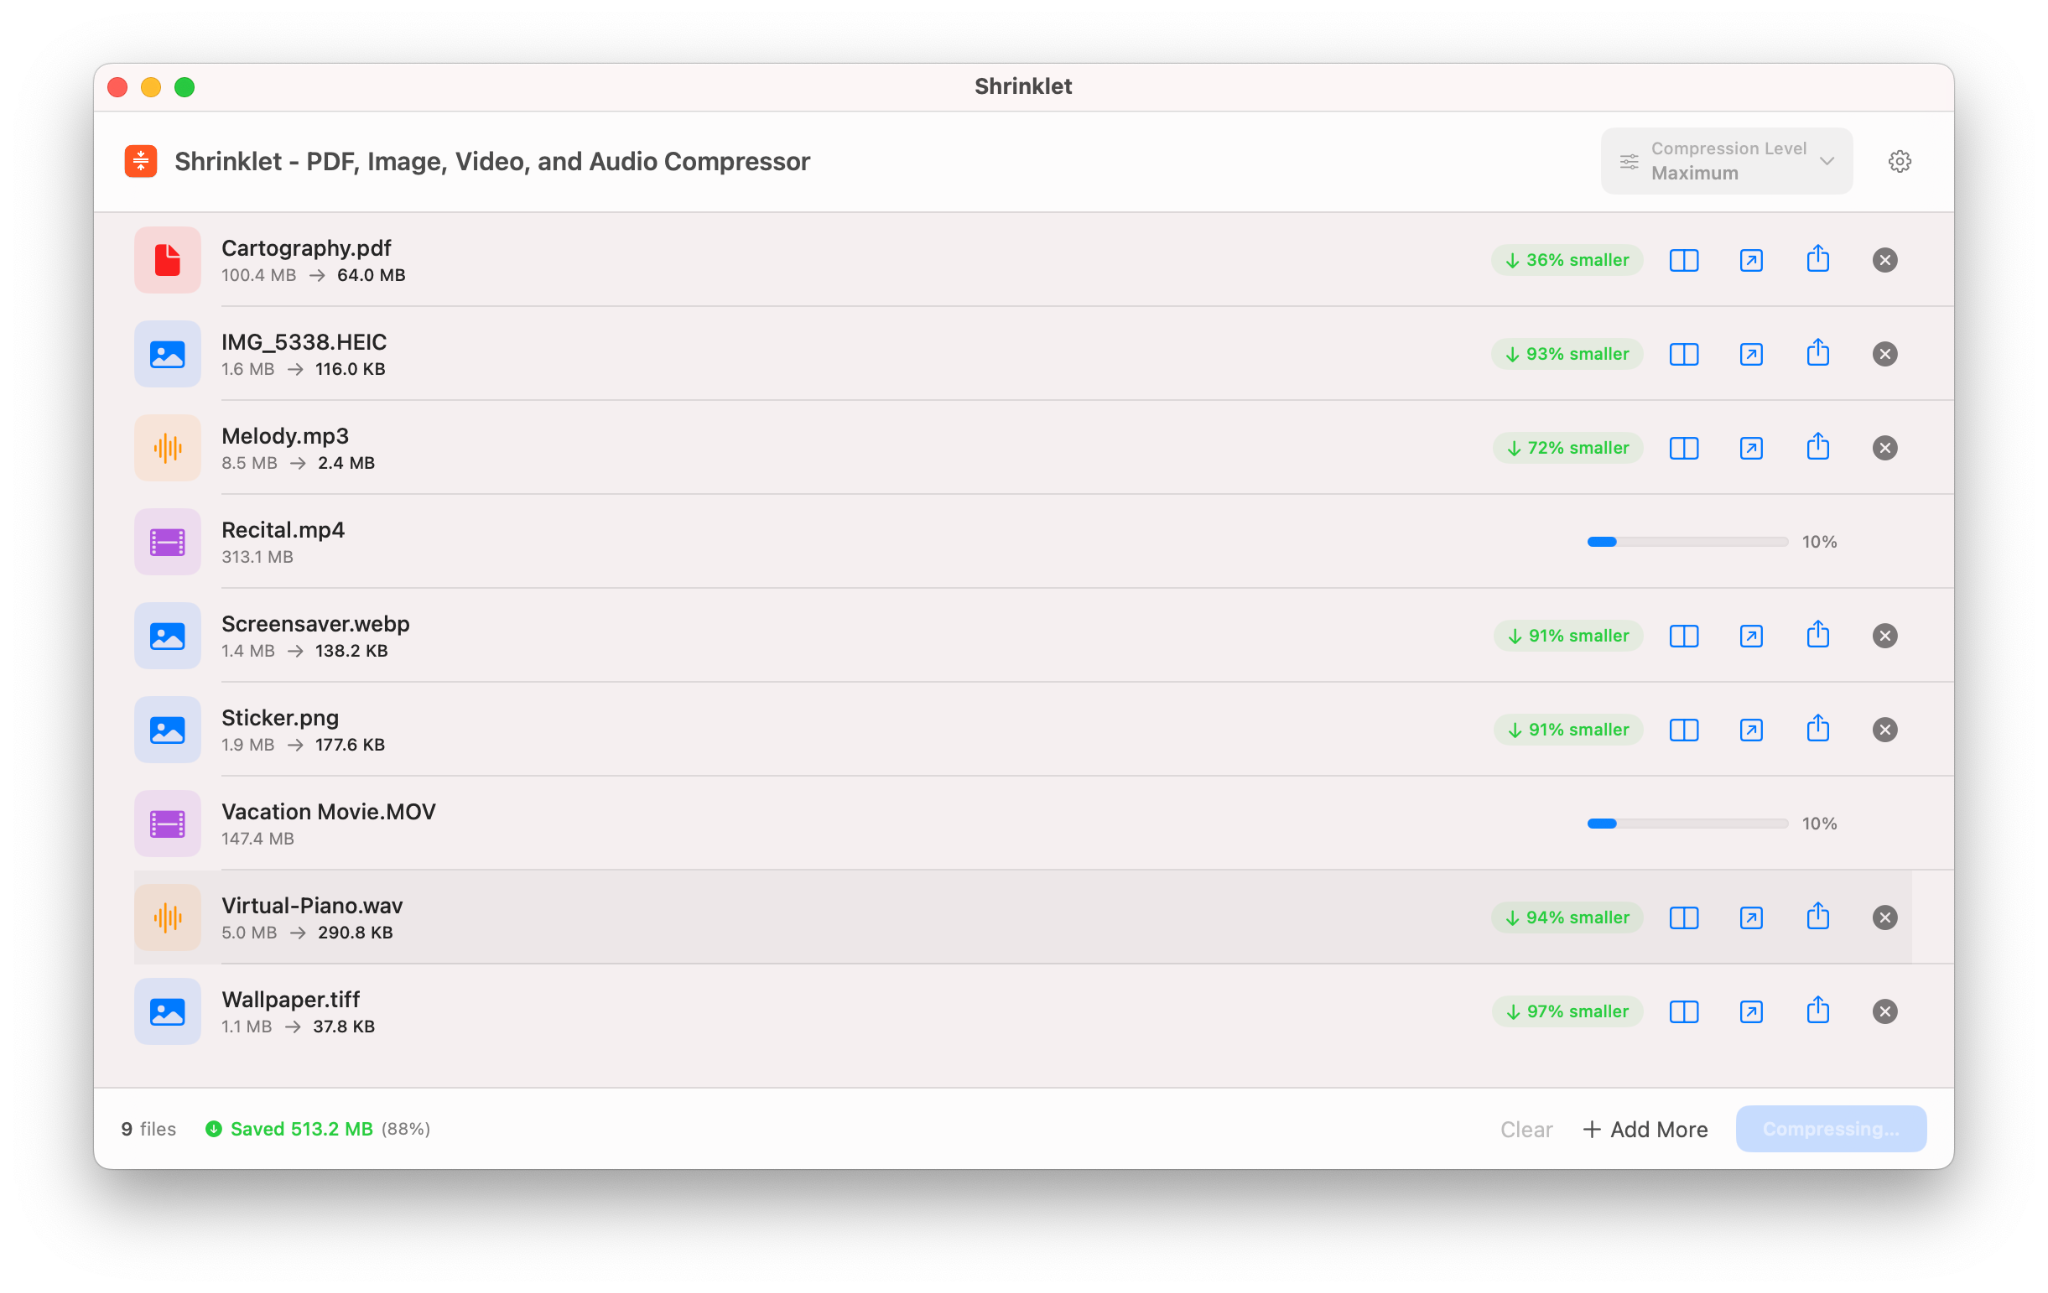
During compression, the progress indicator and percentage make it clear that Shrinklet is actively working.
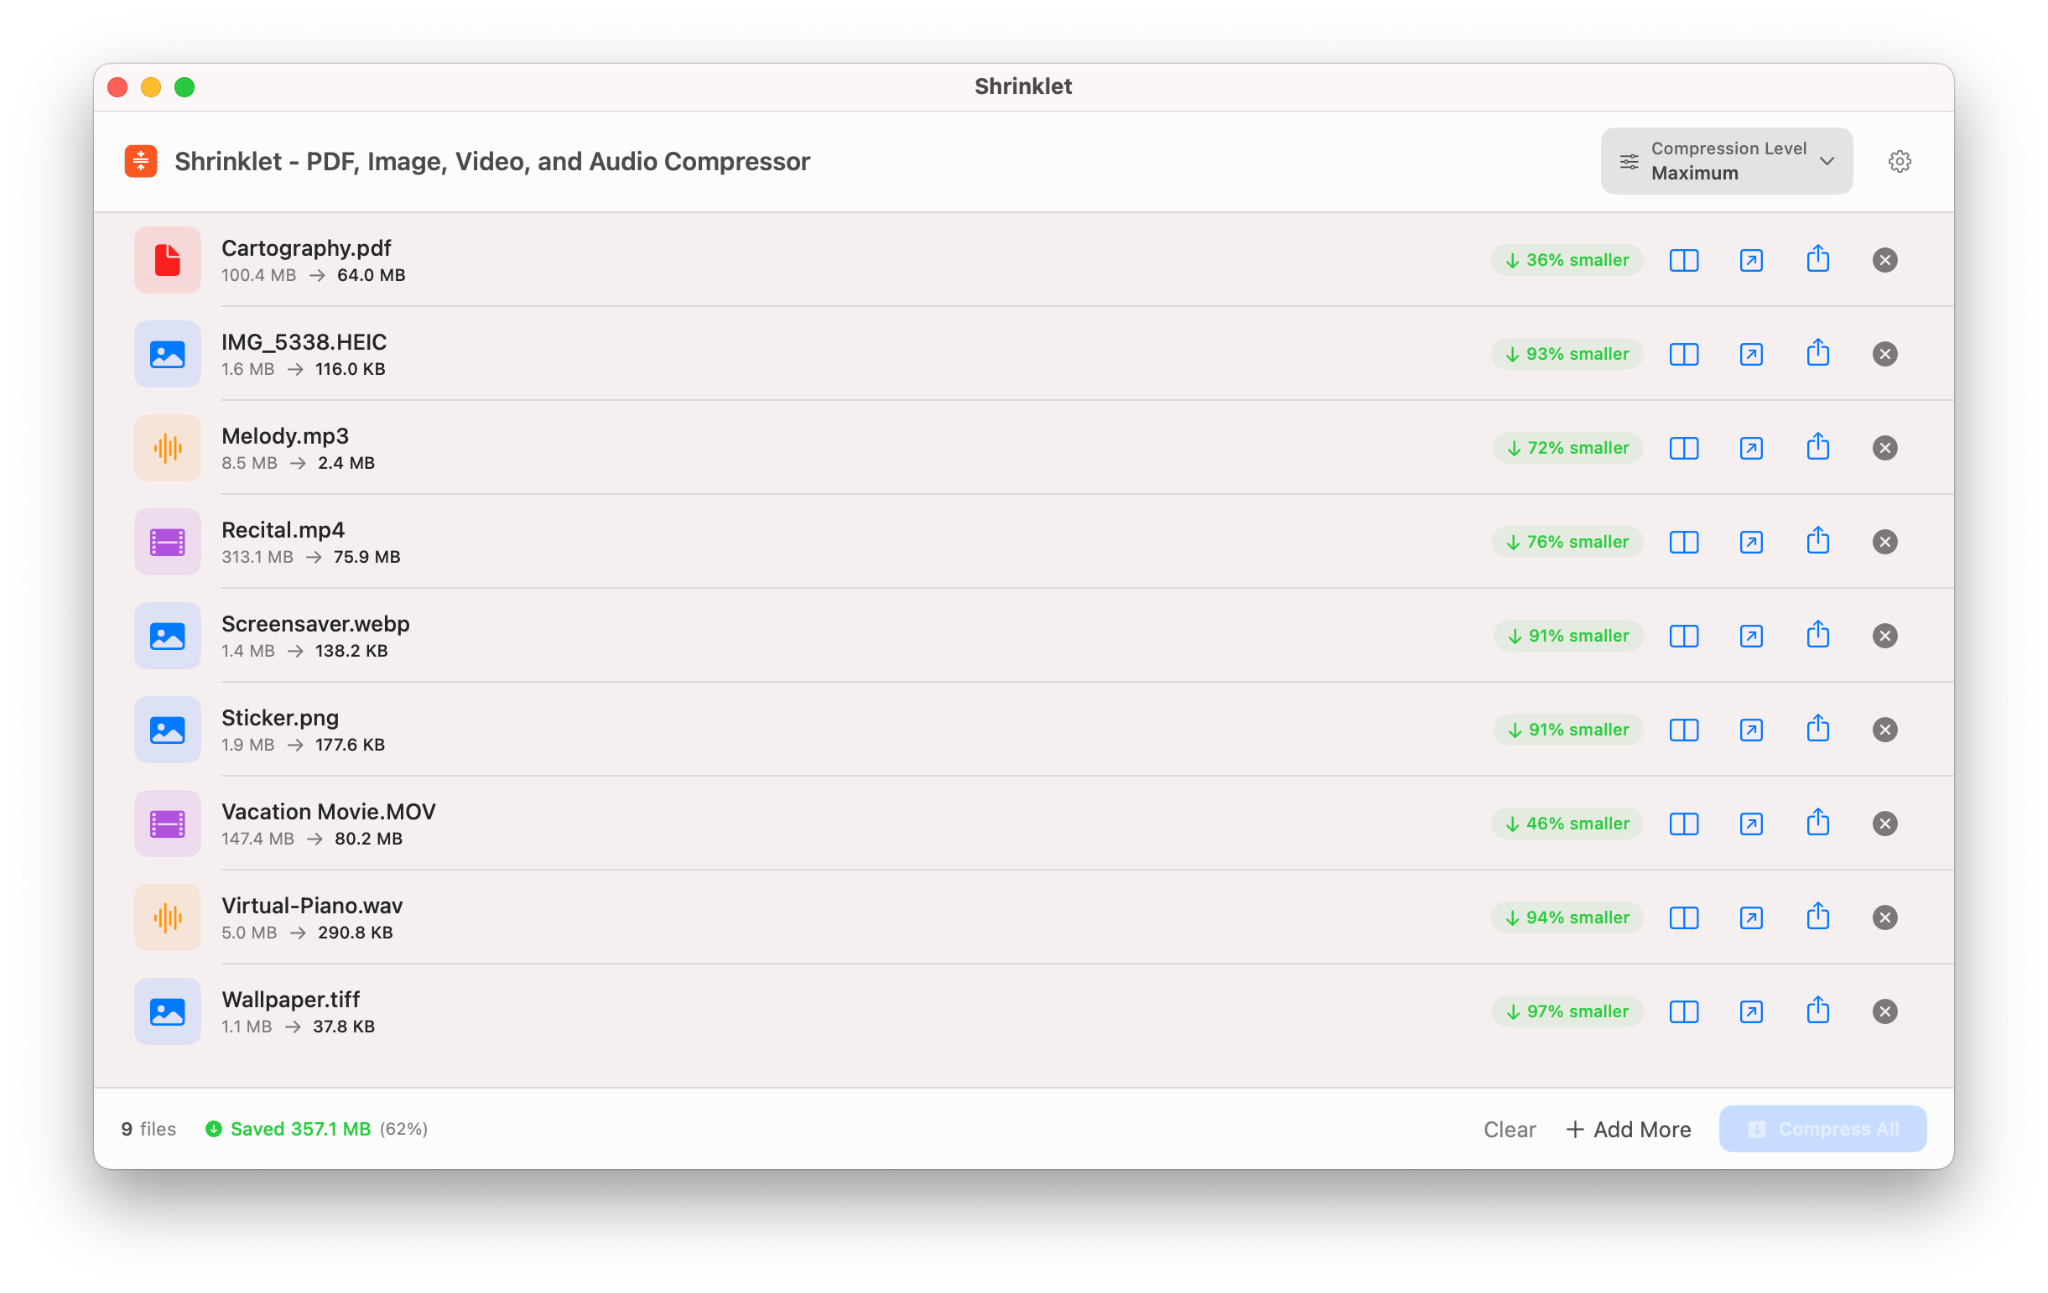
After compression, Shrinklet shows the new size and savings so you can decide whether the result is good enough or whether to try another preset.
You can queue multiple PDFs, images, videos, and audio files together. Batch mode helps when you need to prepare several files for email, upload, storage, or sharing.
Completed batches show each file’s output and savings, making it easier to spot which files compressed well and which may need different settings.
Start with Medium for everyday use. Move up or down depending on how the file looks and how small it needs to be.
Best when visual quality matters most and you only need a modest size reduction.
The best default for most documents, images, videos, and audio. It aims for a balanced result.
Use when file size matters more, such as uploads with strict limits or files you need to email.
Use when you need the smallest practical file and can accept more quality tradeoff.
Use advanced settings when you want direct control over quality, image resolution, and output behavior.
When a result is too large or too soft, run the original through another preset to compare outcomes.
Shrinklet now includes a Review Result flow for documents, images, and audio so users can verify quality before replacing or sending a compressed file.
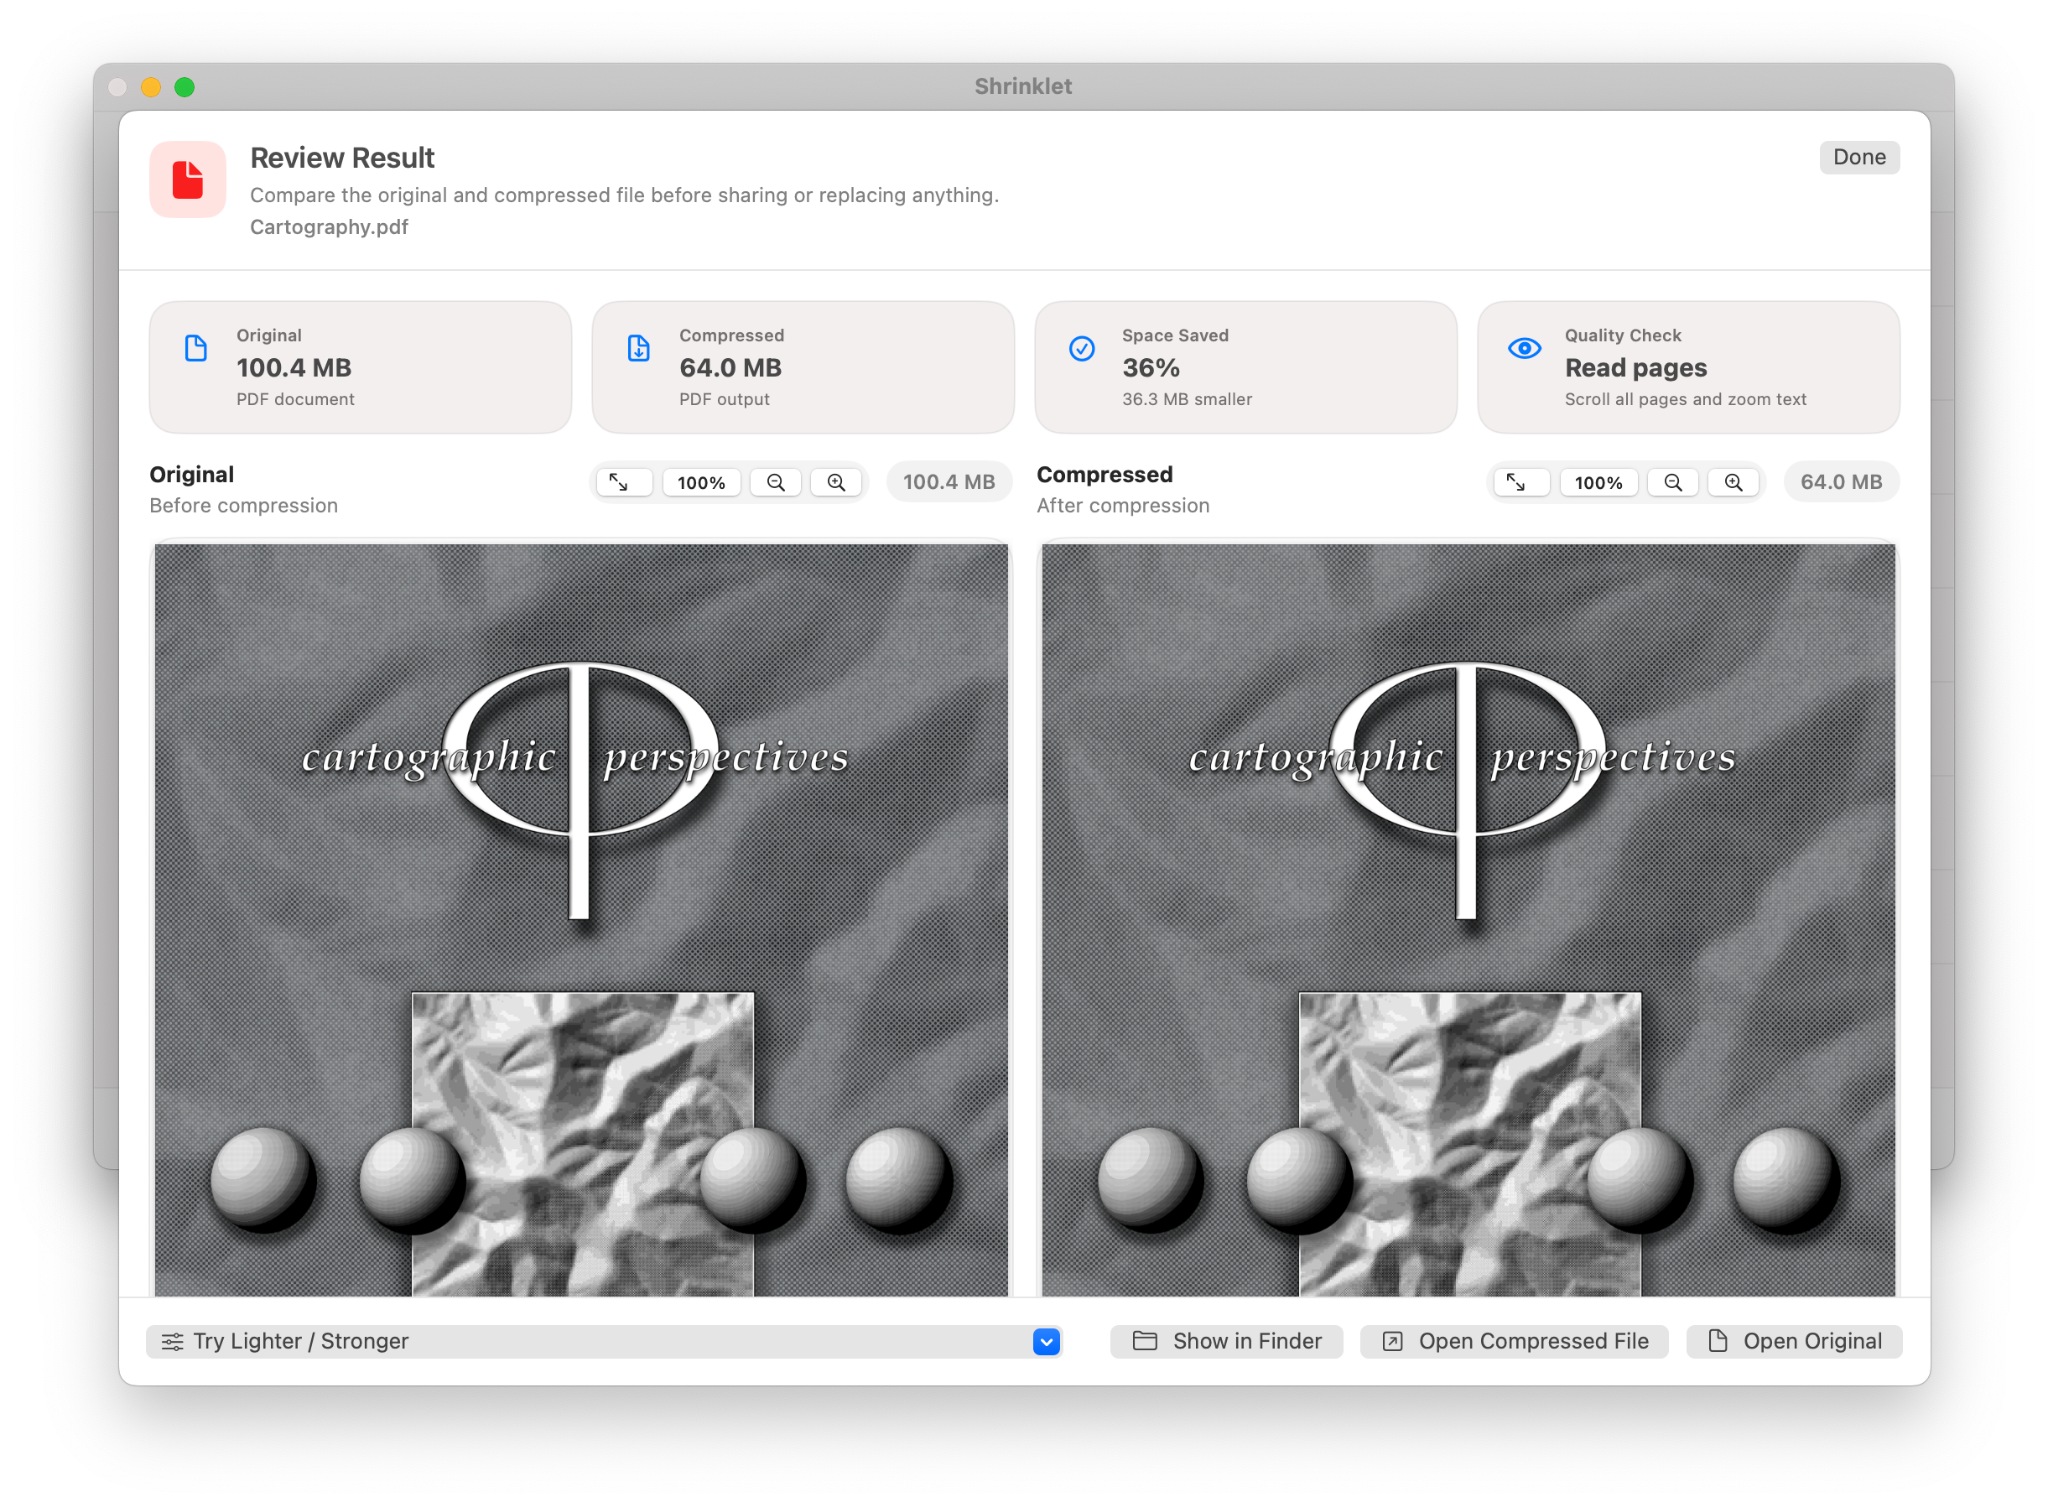
Compare the original and compressed PDF side by side, zoom in, and read pages before sharing.
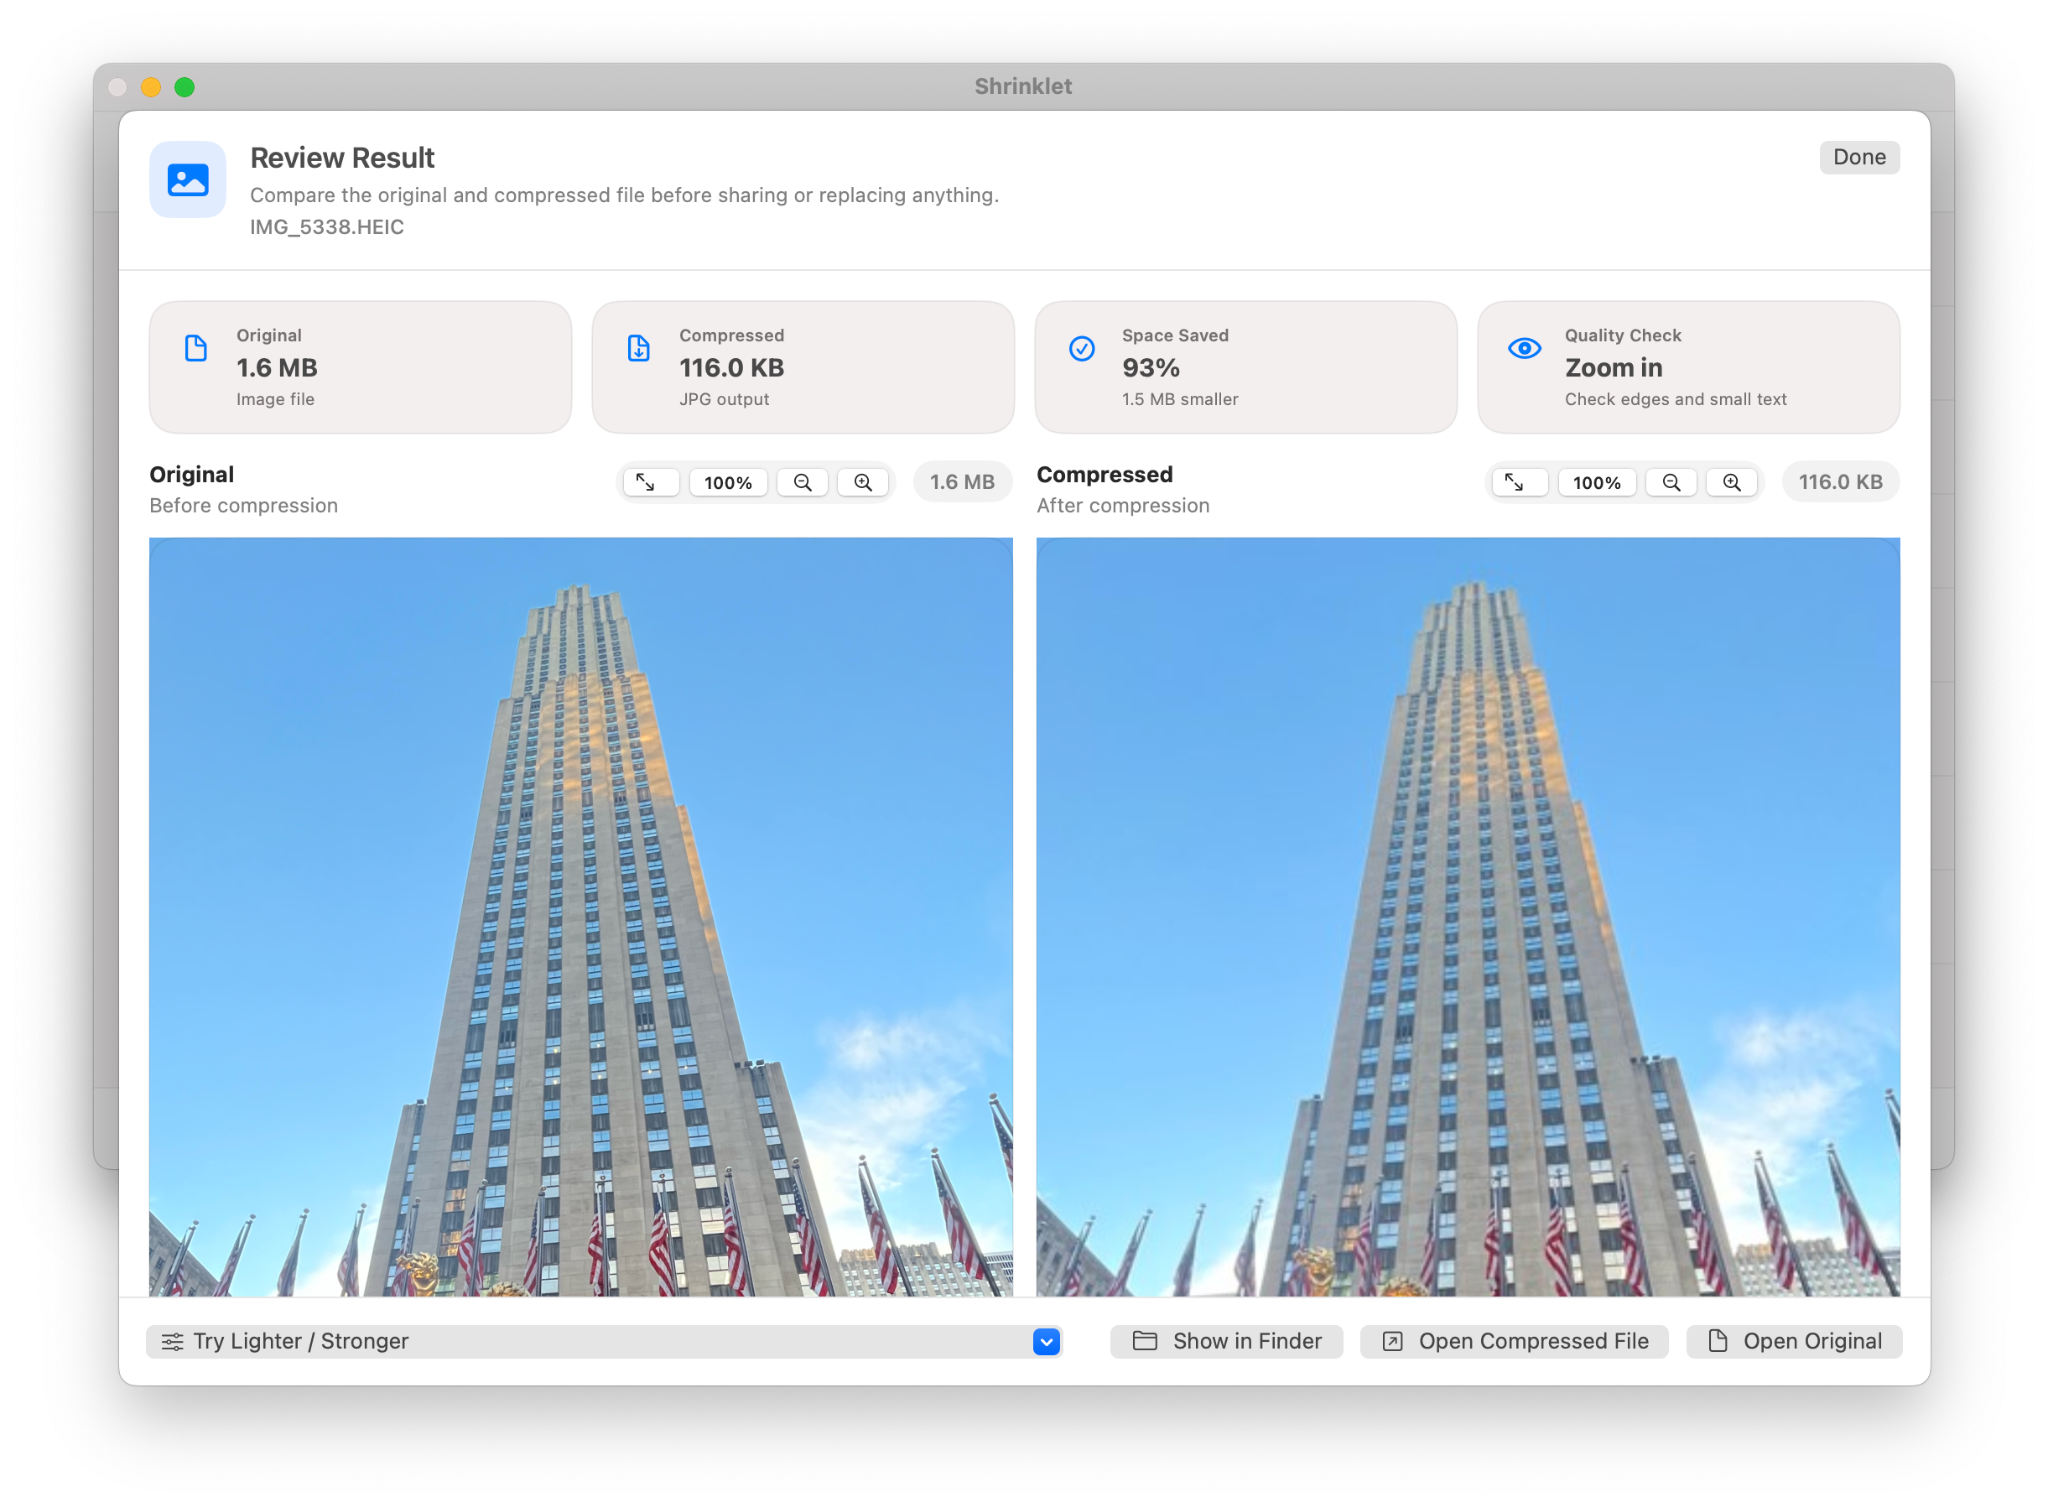
Zoom in on the original and compressed image to check detail, edges, and small text.
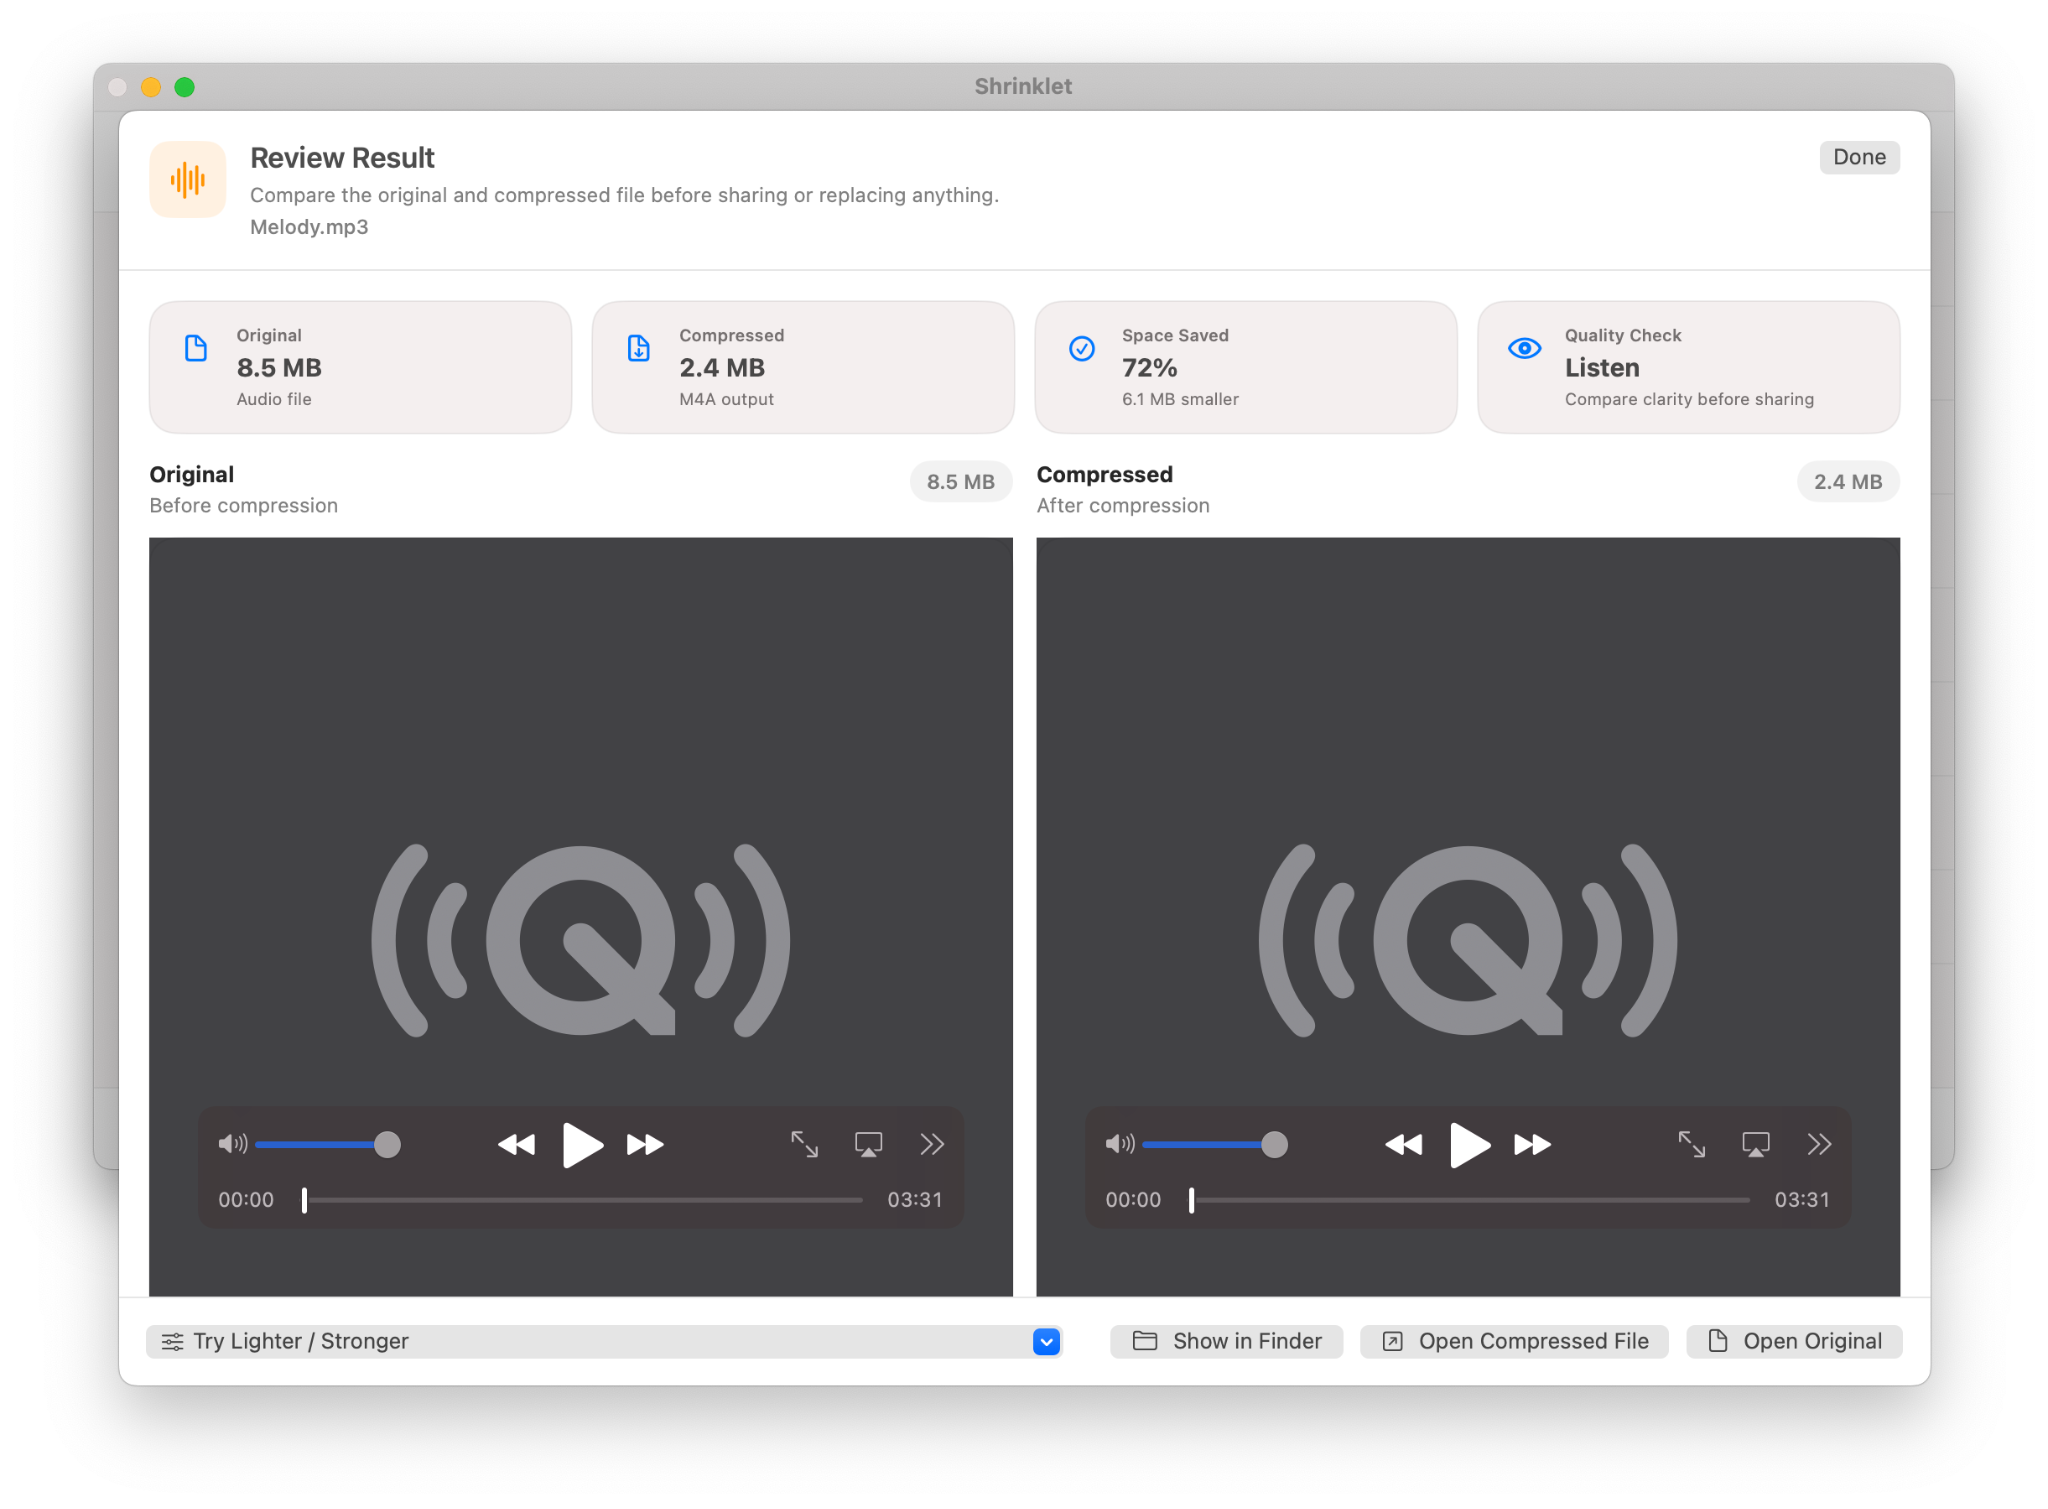
Listen to the original and compressed audio output using native playback controls.
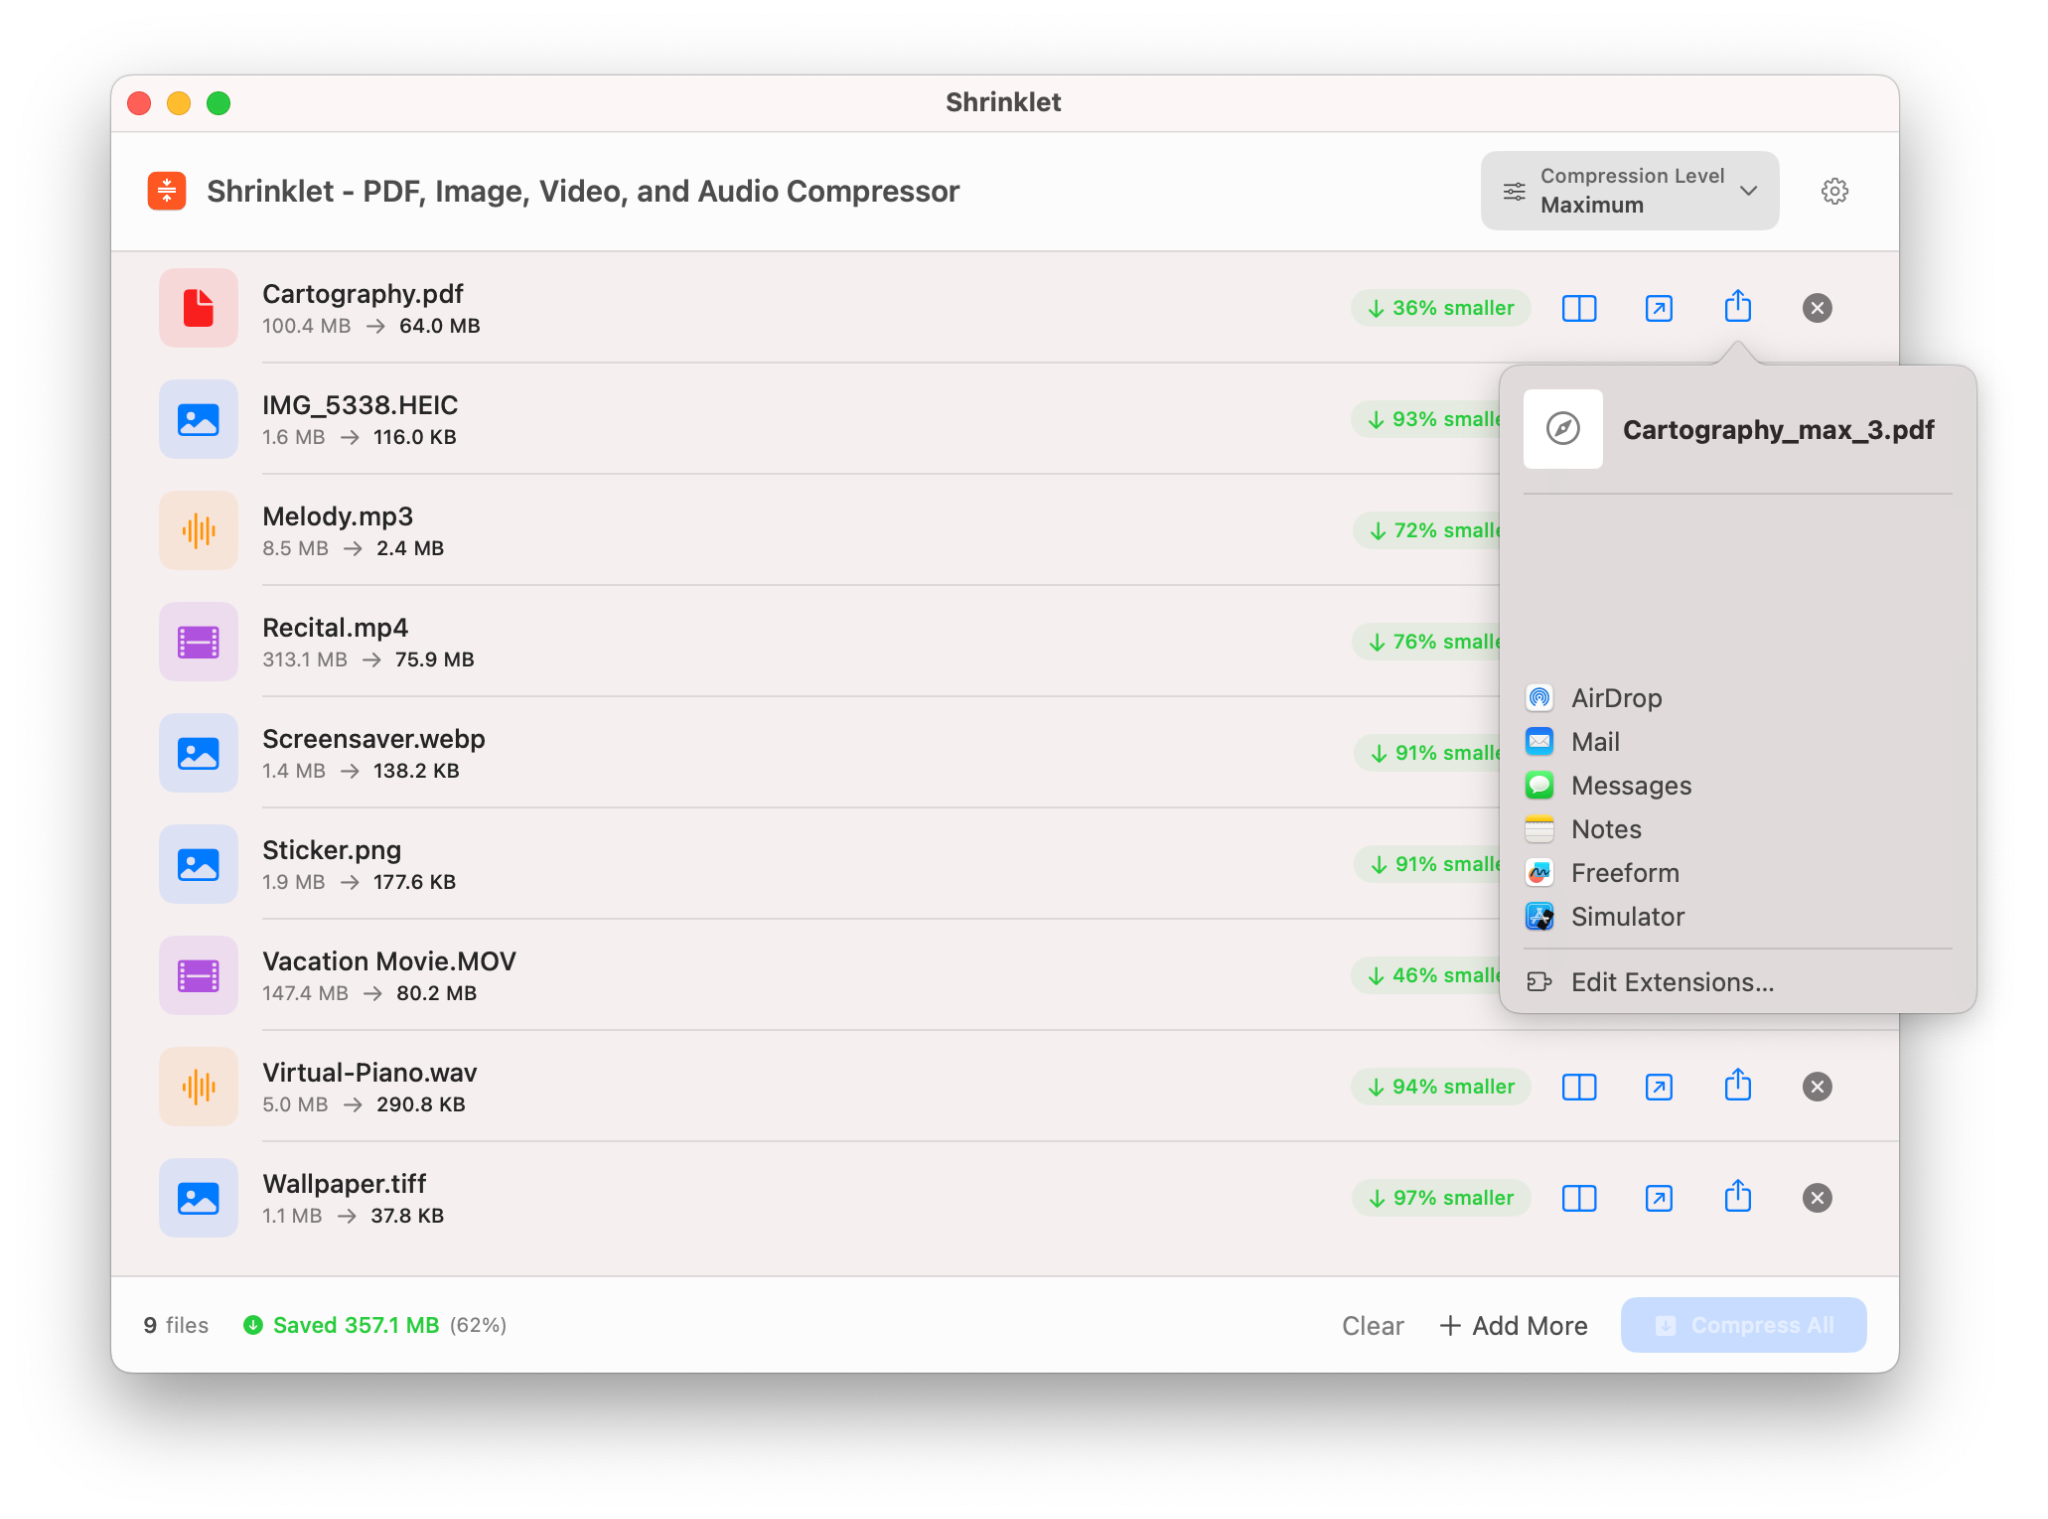
Use the native share sheet to send compressed files through AirDrop, Mail, Messages, Notes, and more.
Most users can stay with a preset. When more control is needed, Shrinklet separates settings for output, PDF, video, audio, statistics, help, and about.
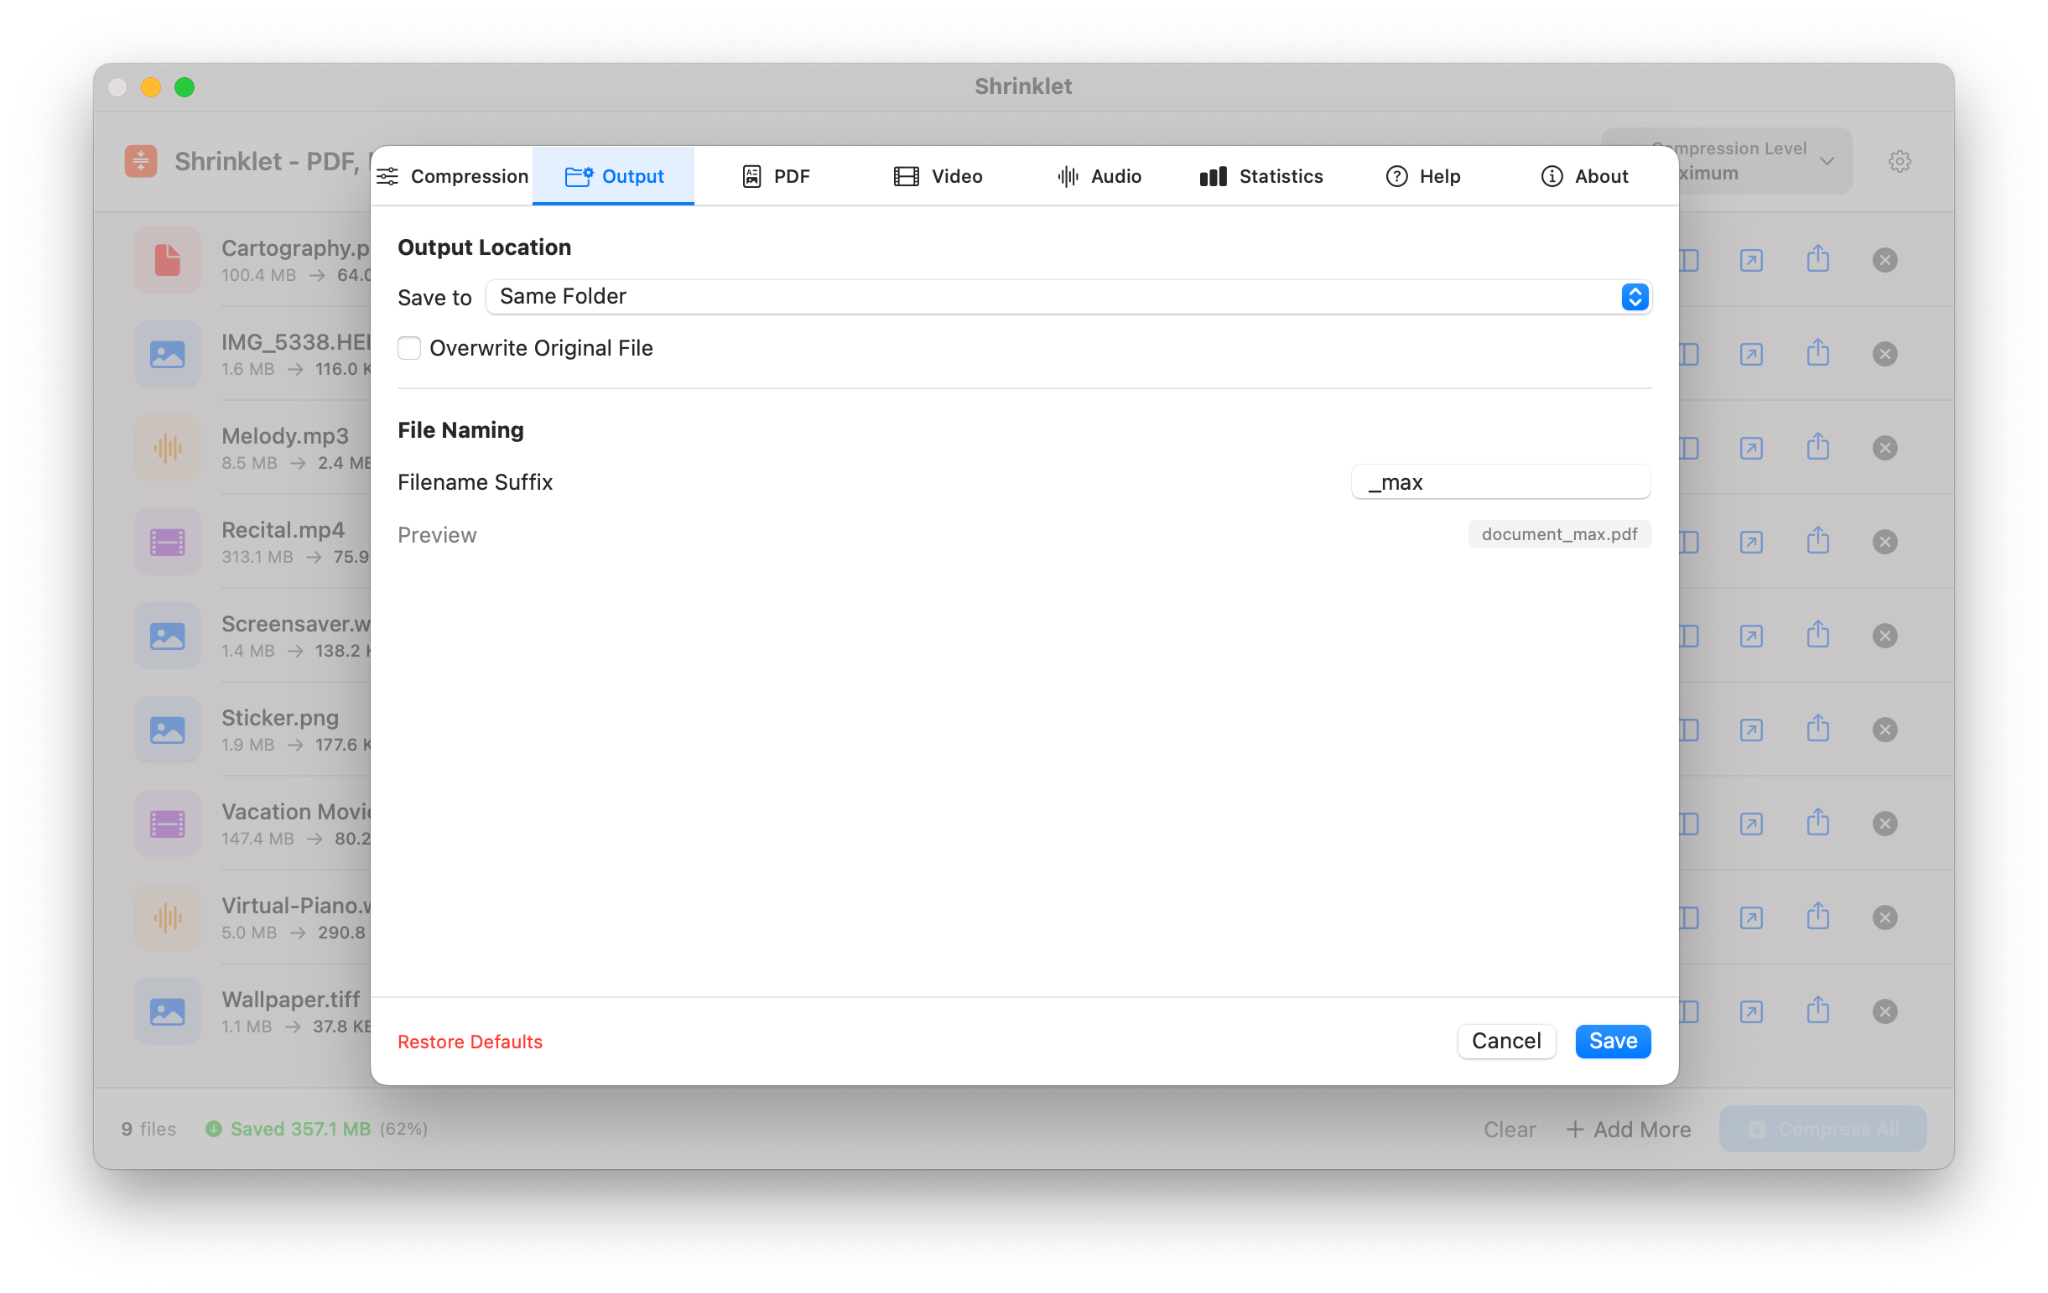
Choose the save location, overwrite behavior, and filename suffix.
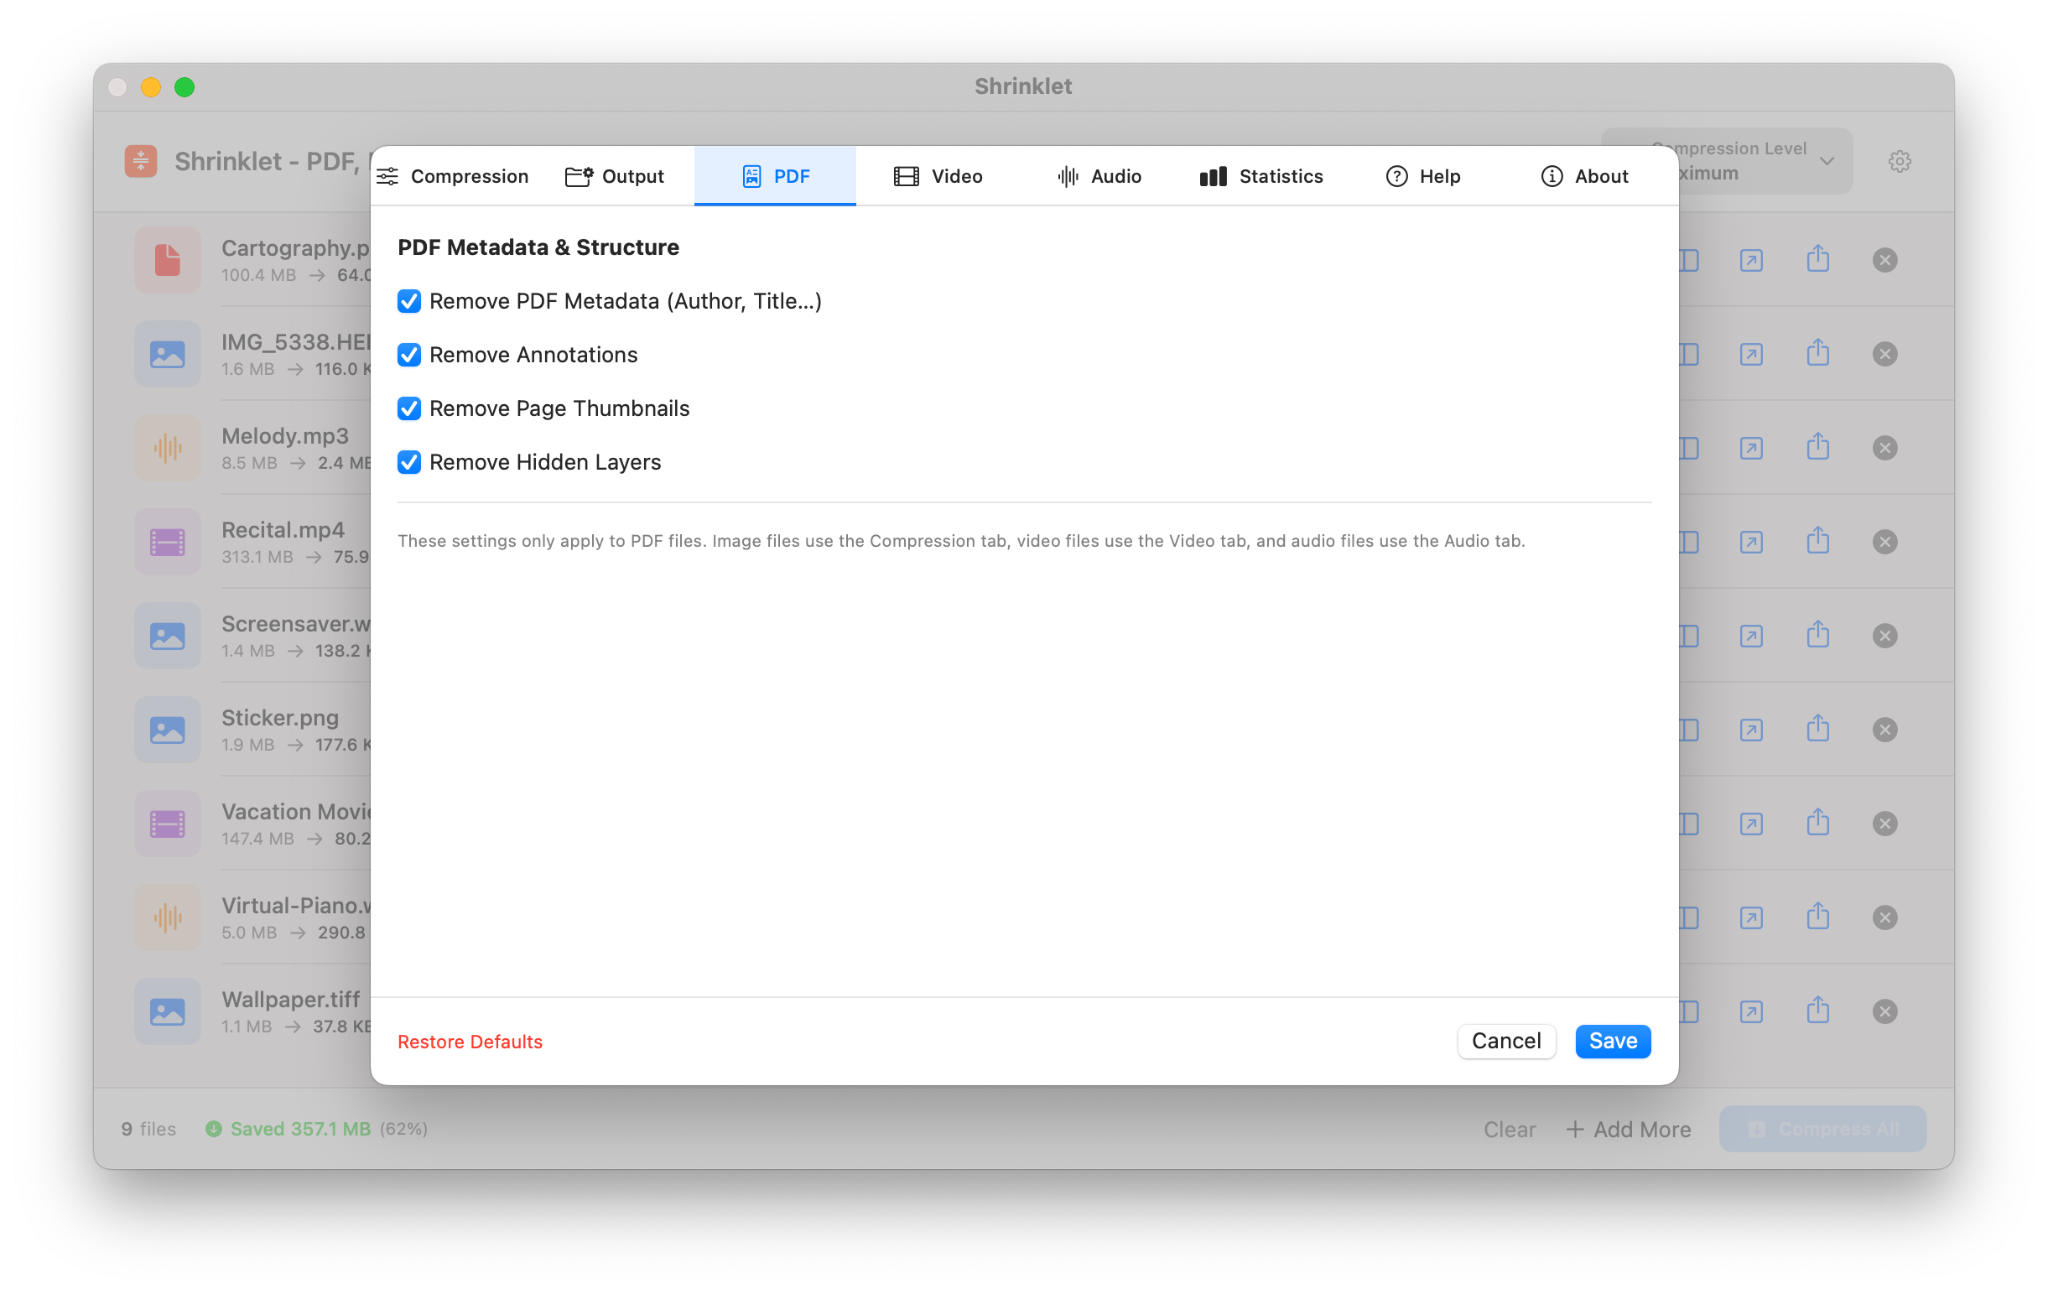
Remove metadata, annotations, page thumbnails, and hidden layers when appropriate.
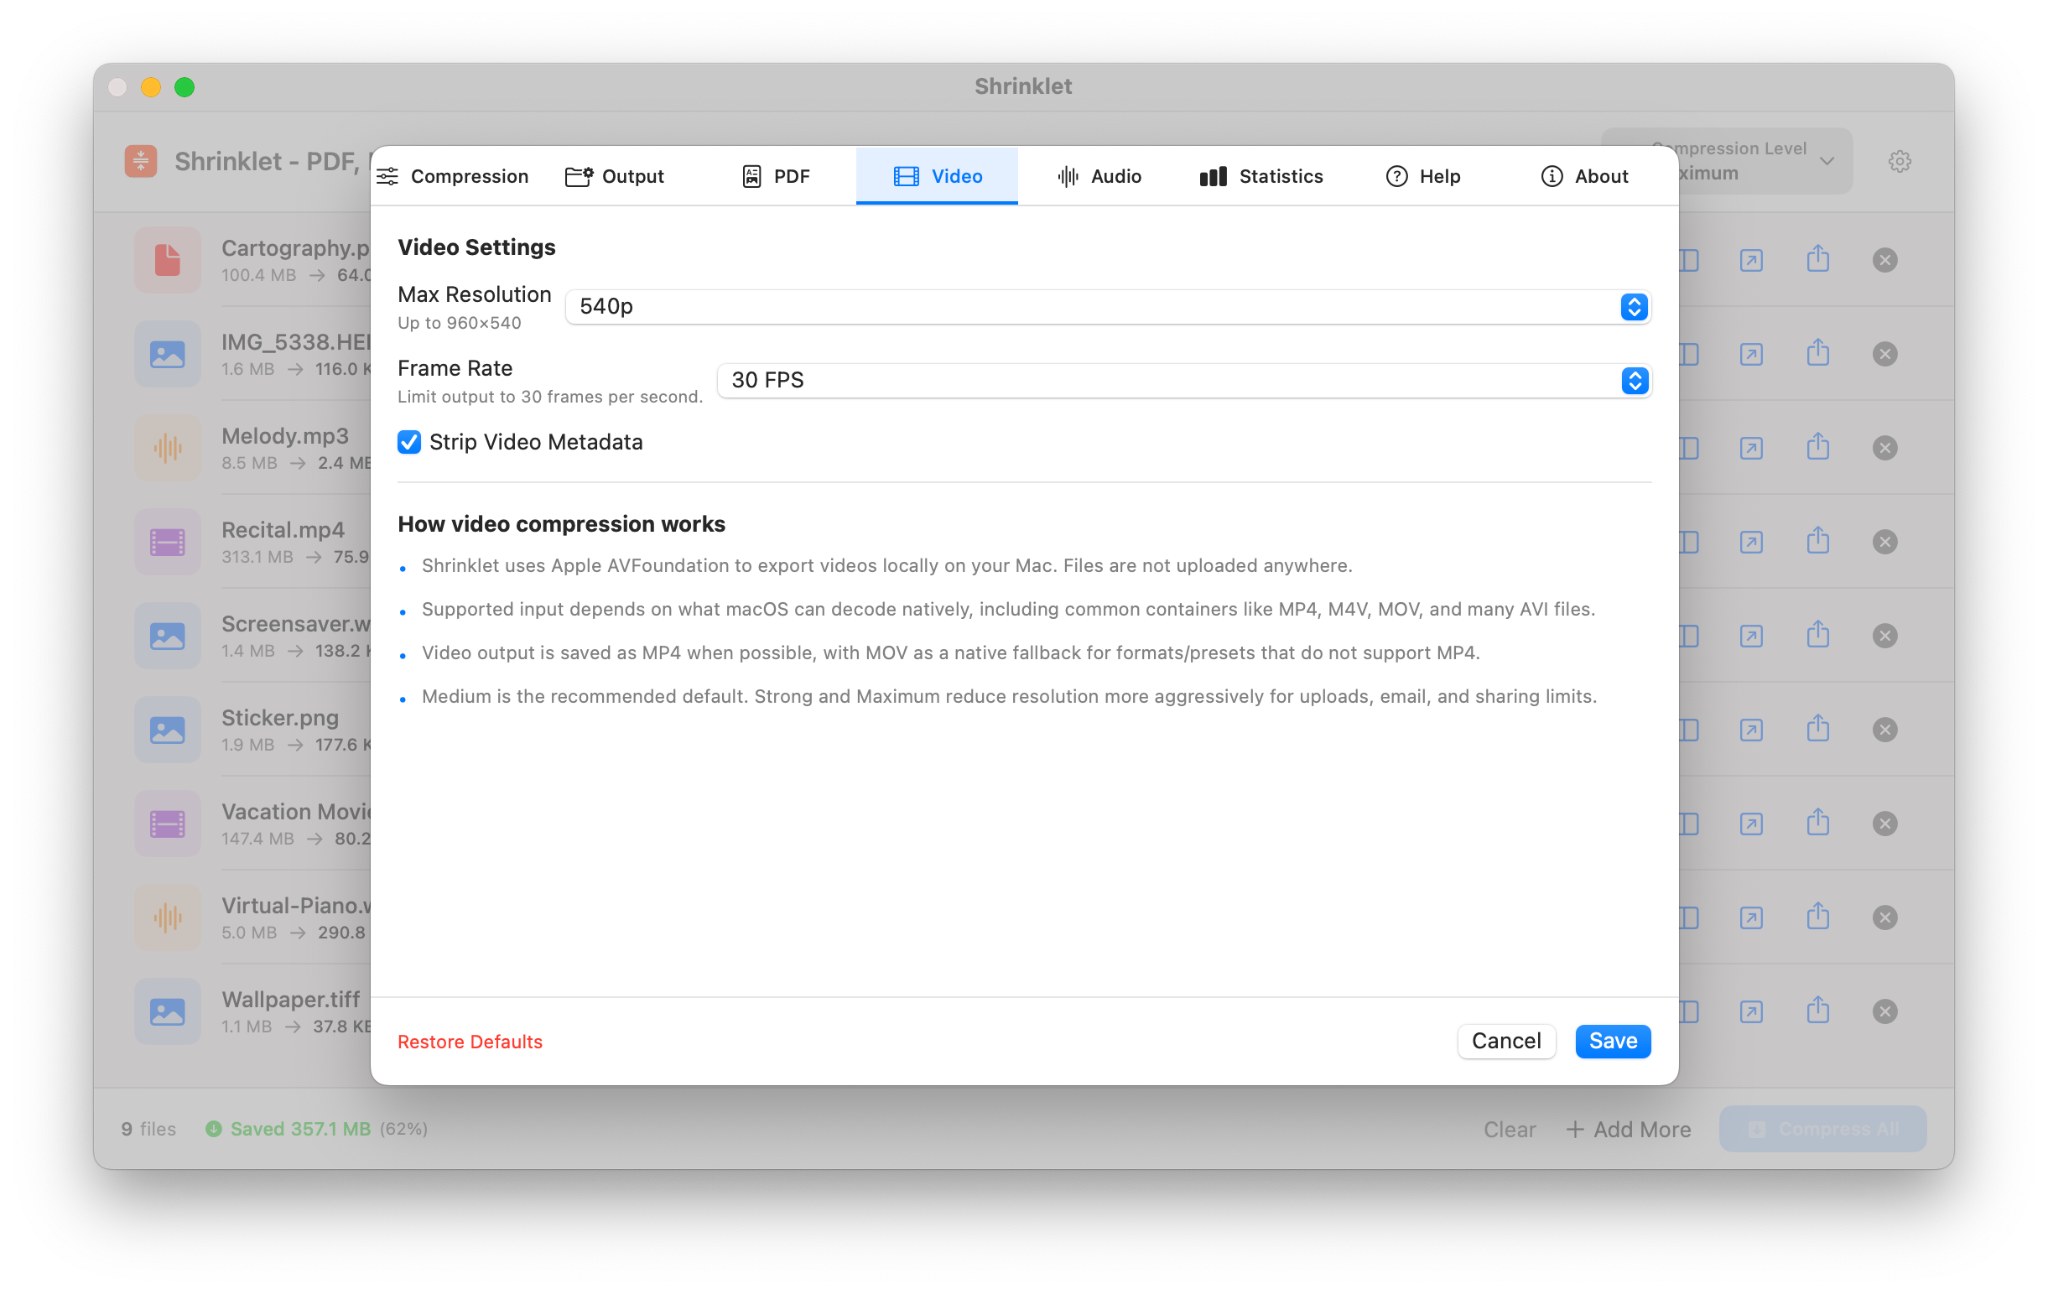
Set max resolution, frame rate, and video metadata removal.
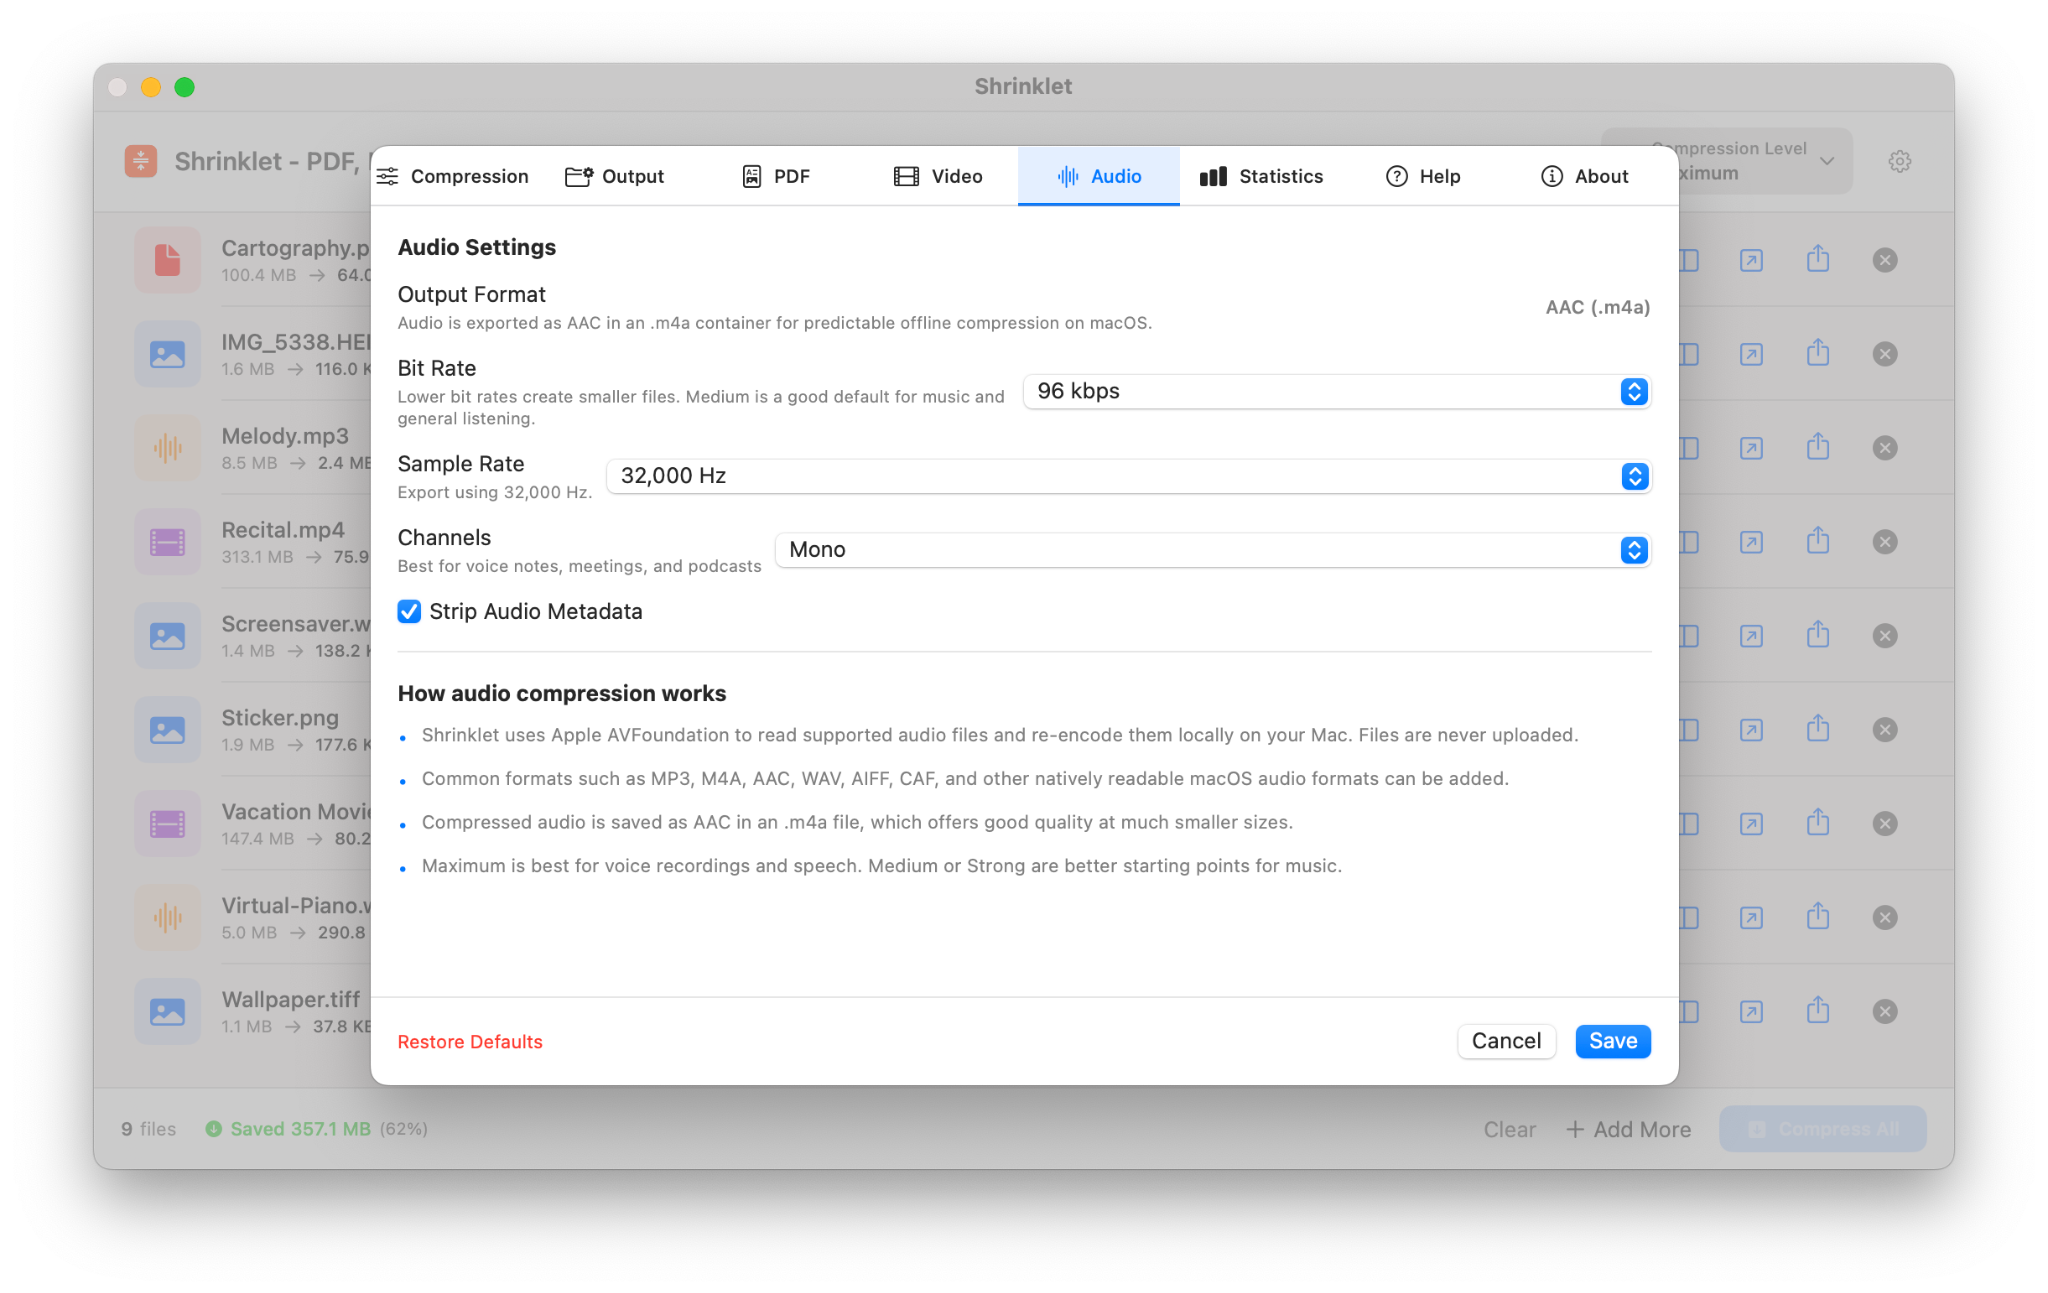
Adjust bitrate, sample rate, channels, and audio metadata removal.
Use this section as a visual map of Shrinklet.
Confirm the selected file and compression preset before starting.
Watch the active compression step, progress bar, and percentage.
Use the share action to send or move compressed files quickly after completion.
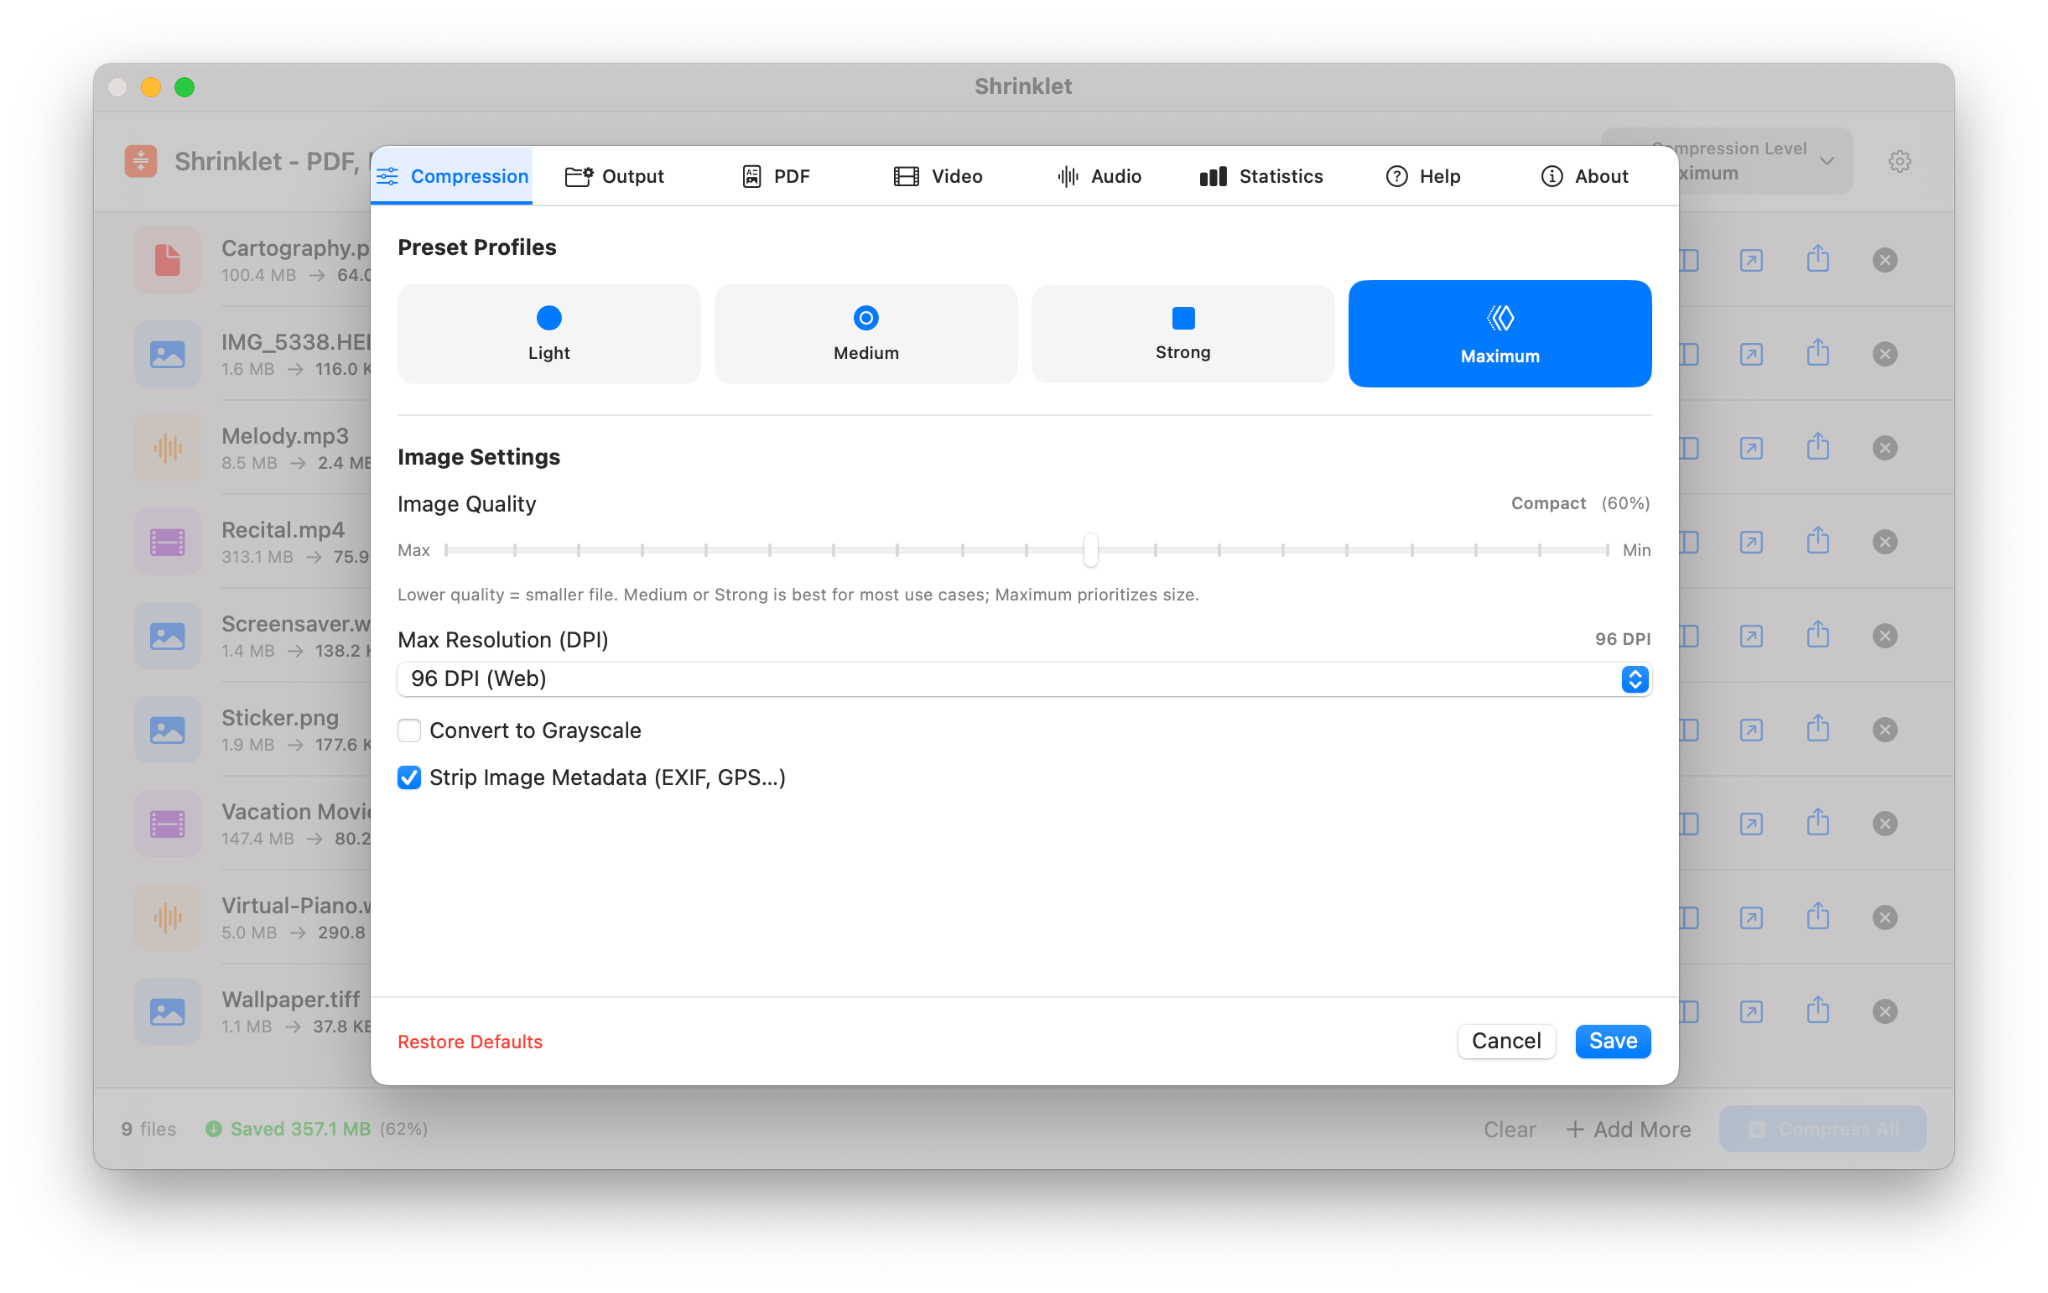
Fine tune quality and compression behavior when presets are not enough.
Most issues can be resolved by changing the preset, checking the original file, or trying a smaller batch.
Some PDFs, images, videos, and audio files are already optimized. Try Strong, Maximum, or Custom settings. Scanned PDFs, image-heavy documents, high-resolution images, long videos, and large audio files usually show the biggest savings.
Use Light or Medium, or increase quality/resolution in Custom settings. Smaller files usually require some visual tradeoff.
Large PDFs, high-resolution images, long videos, large audio files, and big batches take longer. Try compressing fewer files at once or closing other heavy apps.
Make sure the file opens normally in Preview or another Mac app. Damaged, password-protected, or unusual files may not compress correctly.
Check the save location you selected after compression. Use the completed result screen and share menu to move or send the file again.
Choose Maximum or Custom, then lower image quality and resolution. Review the output carefully before sending important documents.
Shrinklet is designed for local Mac workflows. Your PDFs, images, videos, and audio files are compressed on your Mac, which helps you avoid uploading private documents to random web tools. App Store purchases, downloads, and refunds are handled by Apple.
For any issues, email junglepixelsbiz@gmail.com. Include the details below so the issue can be understood quickly.
Mention whether it is a PDF, image, video, or audio file, the original size, and what kind of content it contains.
Include the preset you used and any custom quality or resolution settings you changed.
Include the compressed size, whether quality was acceptable, and what you expected to happen.
Email junglepixelsbiz@gmail.com with your file type, preset, original size, compressed size, and what you expected to happen.